Shrink-N-Repair® Installation Instructions
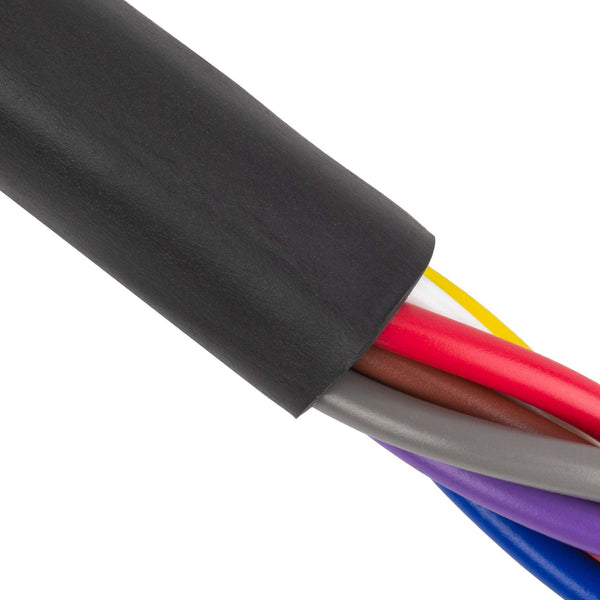
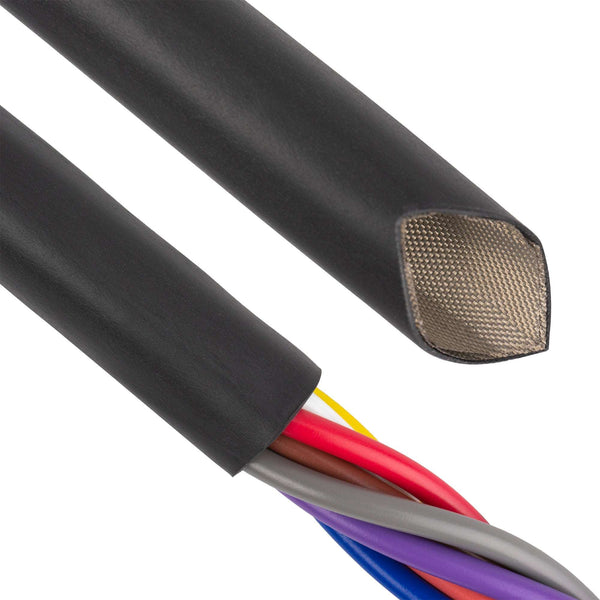
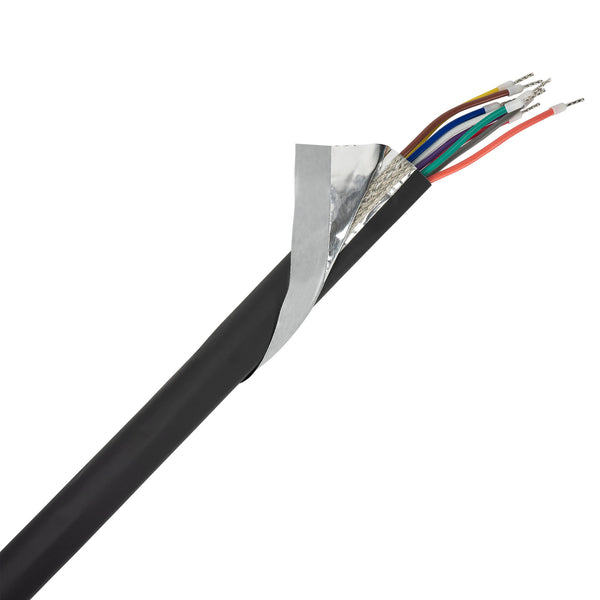
Installation is made easy as disconnection of your wires is not needed.
Thousands of people have used Shrink-N-Repair® for many applications.
Why? It’s a wrap-around heat shrink that requires no disconnection of your wires and it’s easy to install.
Installation Instructions:
1.) Prior to installation, be sure to prepare your wire or cable by removing any debris or oil residue. This can be accomplished by cleaning the area to be wrapped with isopropyl alcohol.
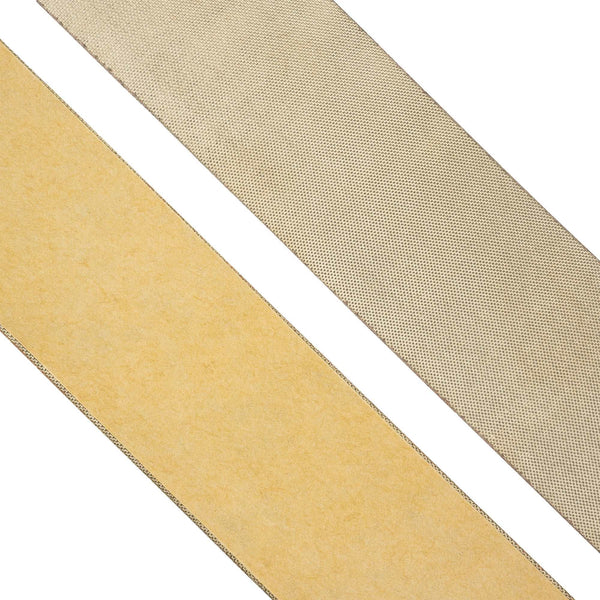
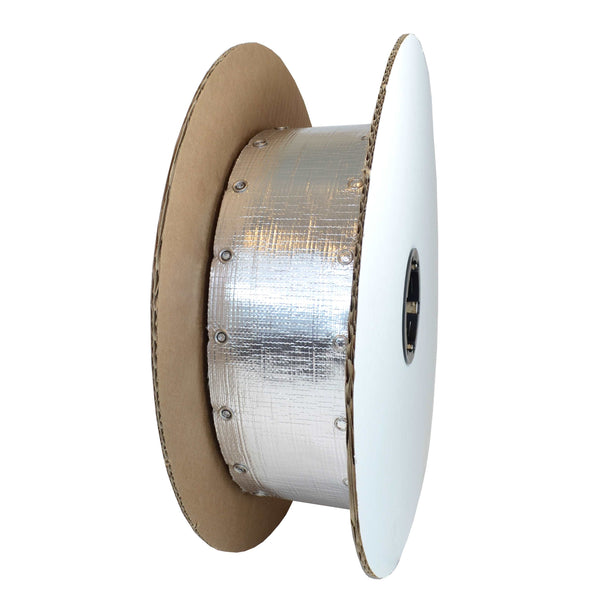
2. With the container in hand pull the top off the Shrink-N-Repair® and remove the banded roll from the container. Remove the band and save the Measure & Cut Ruler for Step 4.
3.) Using a caliper or micrometer, measure the outside diameter of the wire or cable that you intend to cover with the Shrink-N-Repair®.
4.) While referencing the Measure & Cut sizing chart, choose the correct size for the diameter of your wire or cable. Follow the directions carefully.
6.) Cut the Shrink-N-Repair® to your desired length of repair. Then, measure and cut repair piece to width.
- Sizing Shrink-N-Repair® smaller than recommended may result in closure opening during the heating process.
- If your wire or cable matches the size of the #4 on the sizing chart, it requires no additional cutting. Simply follow the next step in these installation instructions.
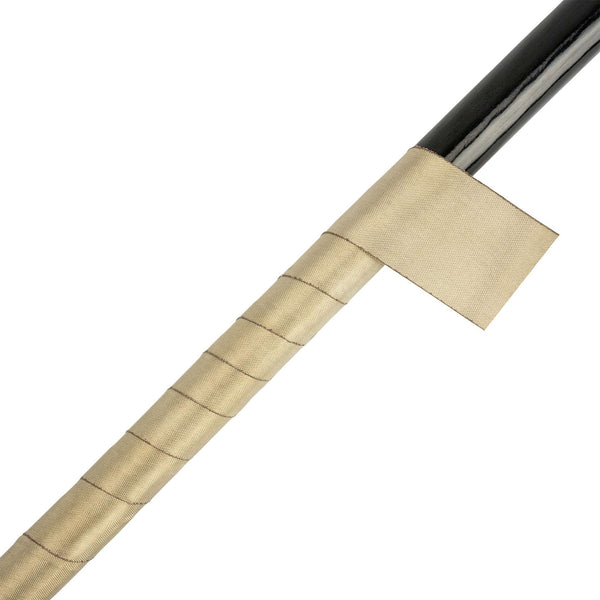
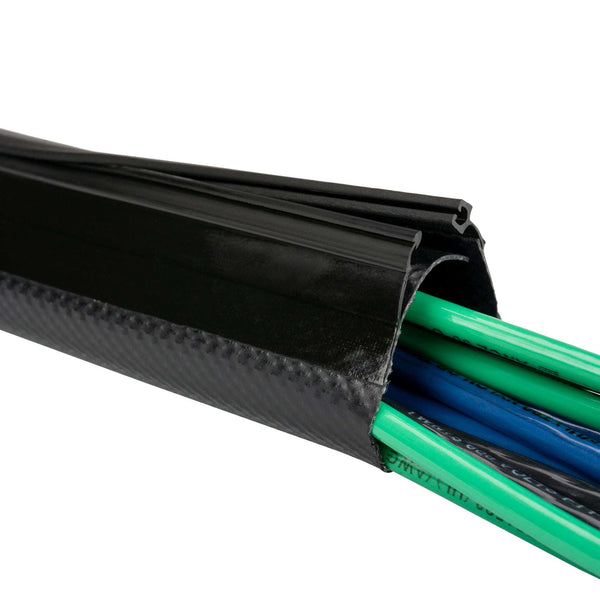
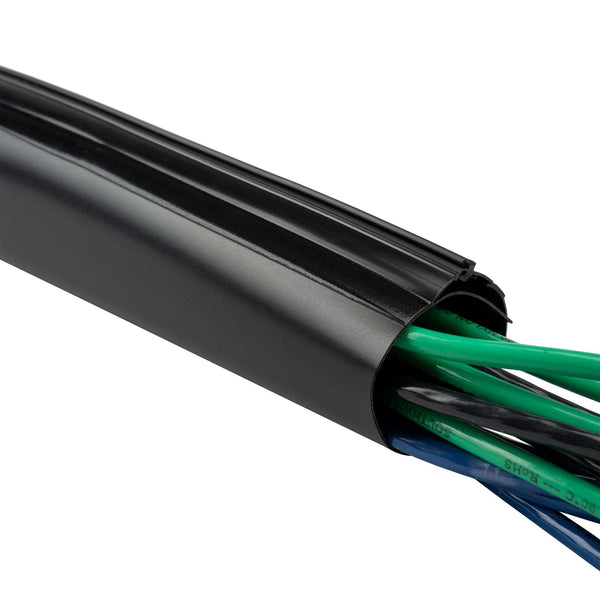
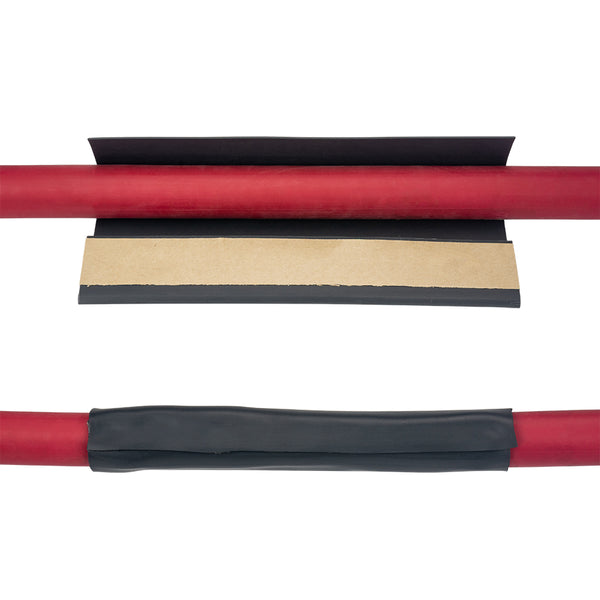
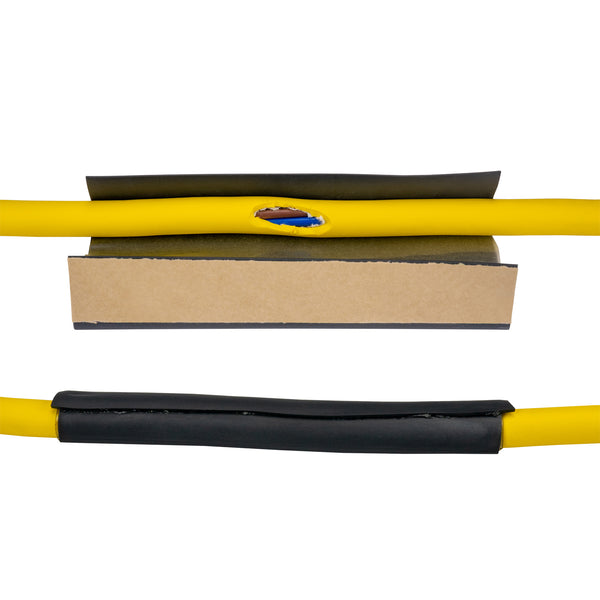
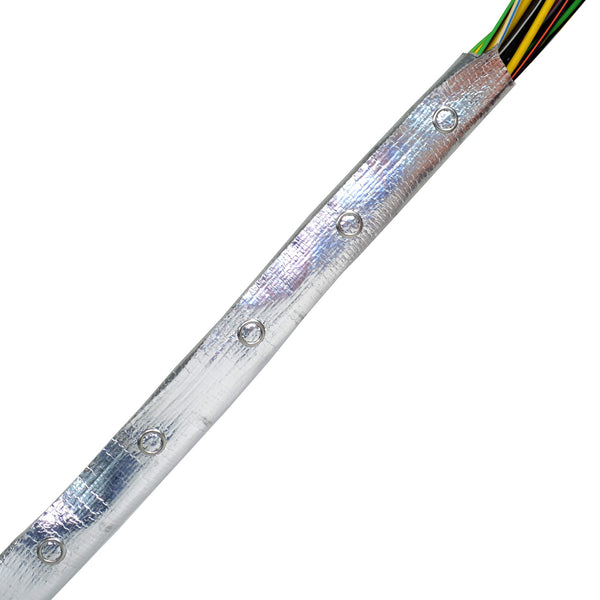
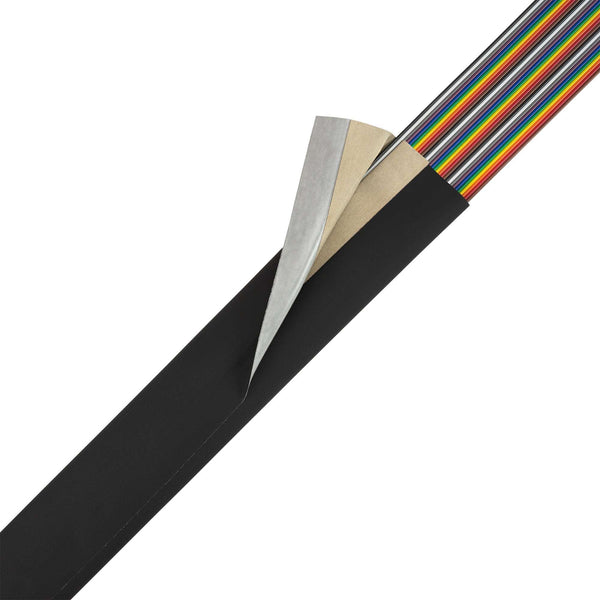
7.) Next, wrap the Shrink-N-Repair® loosely around your repair area no more than twice the diameter of the wire.
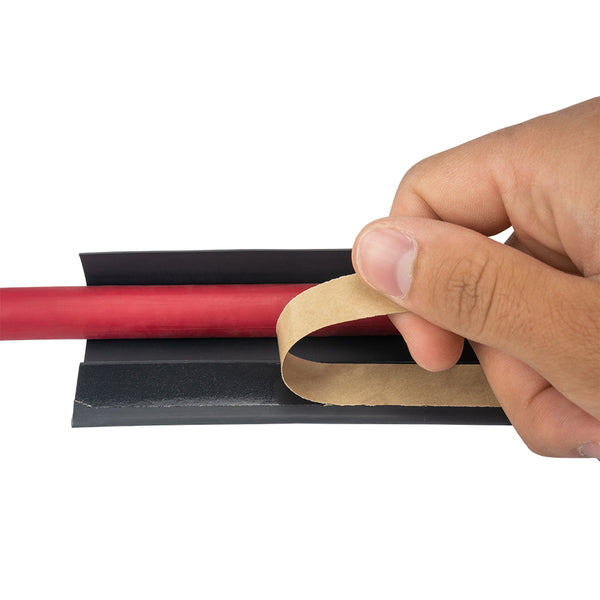
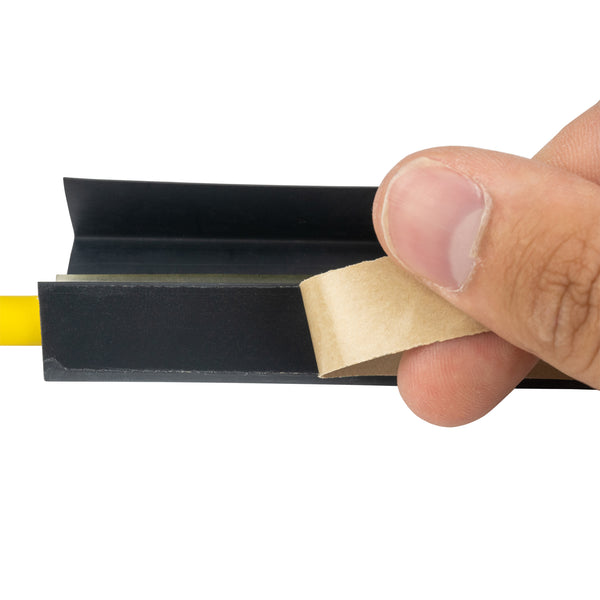
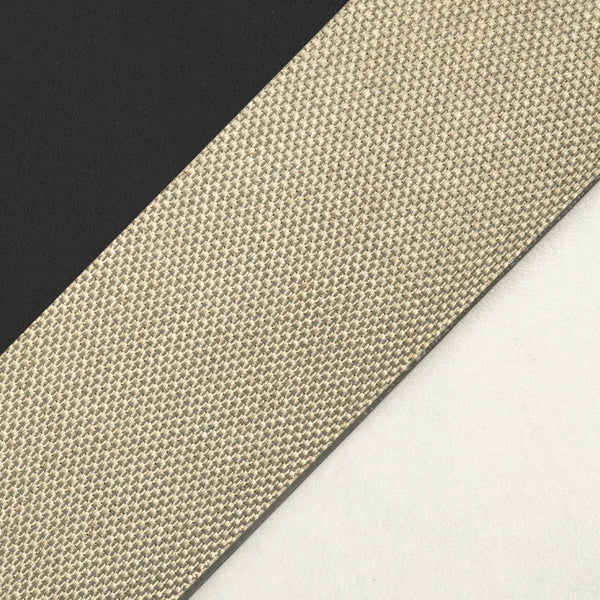
8.) Remove the adhesive liner and begin closing the two sides together wrapping the adhesive side over the outside of the material.
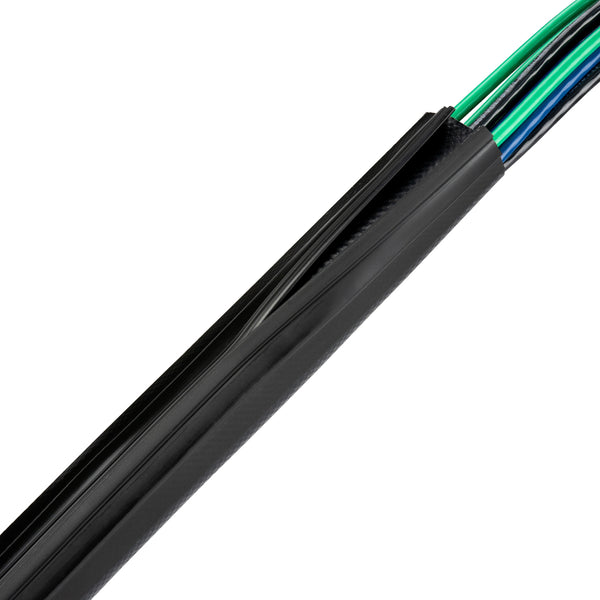
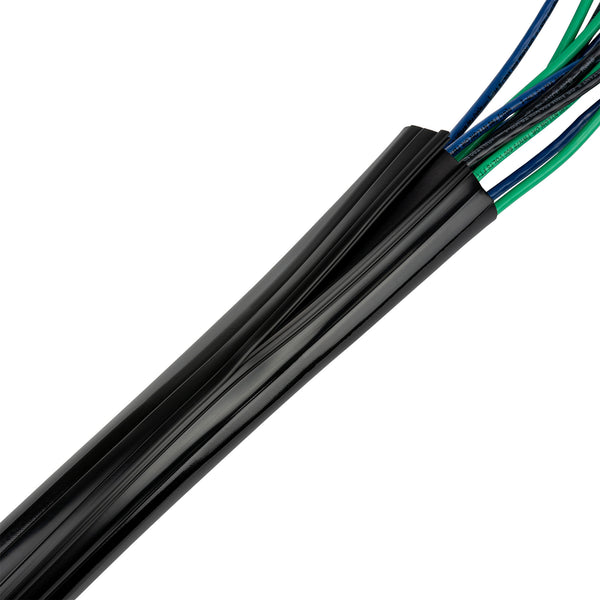
9.) Firmly press your thumb along the adhesive strip area to ensure proper adhesion & closure.
10.) Using a heat gun, apply heat at the adhesive strip first, and then move the heat evenly around the Shrink-N-Repair® and your wire.
Note:
- If a lip on the adhesive occurs, remove the heat and allow for the Shrink-N-Repair® to cool. Once the Shrink-N-Repair® is cooled, press firmly on it to re-seat the adhesive back on to the wrapped portion.
Caution: This material will get EXTREMELY HOT during installation. Product will begin shrinking when temperatures reach above 195°F.
11.) Once fully cooled, remove any excess adhesive from seam.
Caution: Never attempt to remove excess adhesive from installation immediately after heating. Adhesive will get extremely hot and could result in a burn. Also, never use any type of solvent to remove excess adhesive.