How to install Z-Track
What is Z-Track?
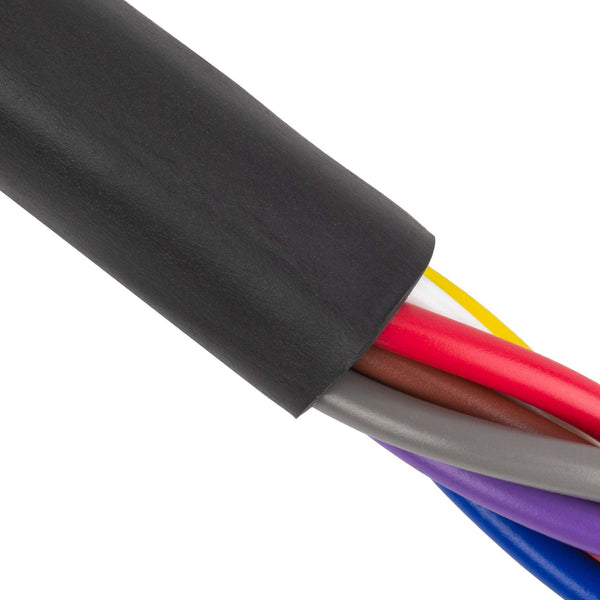
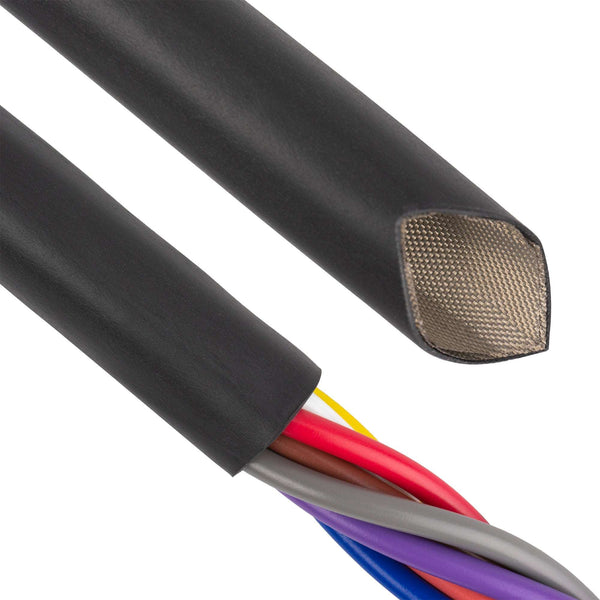
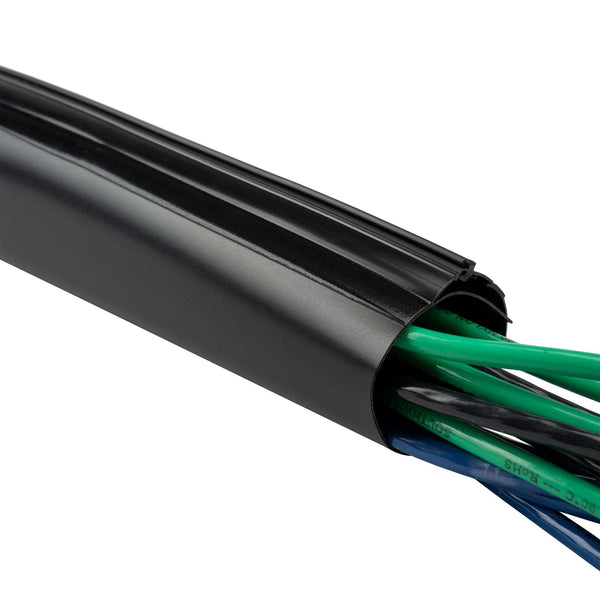
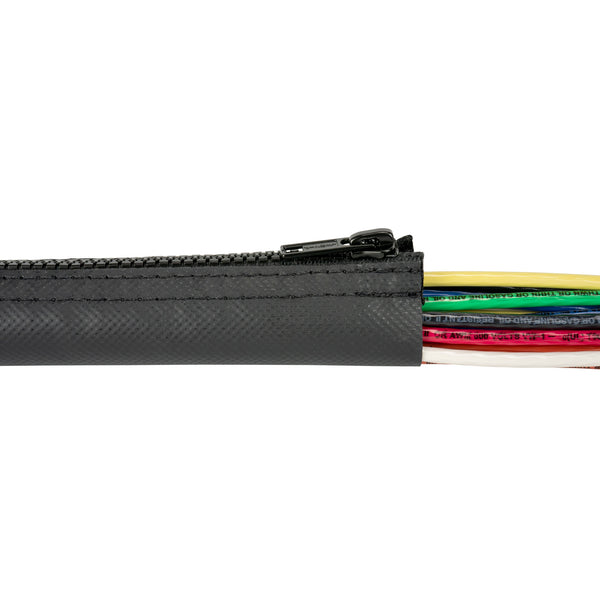
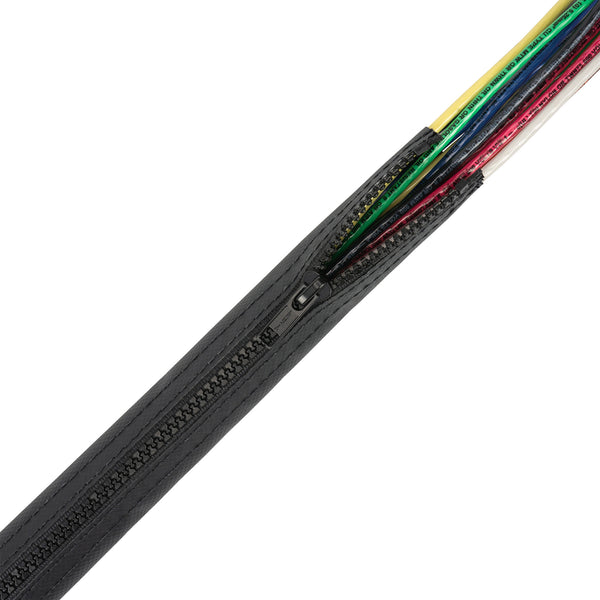
The Z-Track closure is a medium size Arrowhead & Channel interlock design approximately .150” wide and is the most versatile closure offered for zip-on jacket applications. It should always be considered as the first closure choice when designing a wrap-a-round jacket system.
Z-Track is extruded in three different flame retardant polymer compounds. When combined with our PVC compound jacketing materials, Z-Track can accommodate Round, Flat and Rectangular Cable jacket configurations.
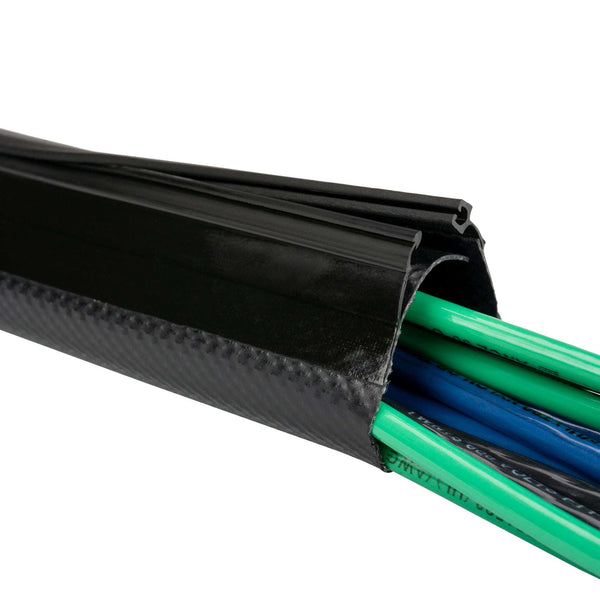
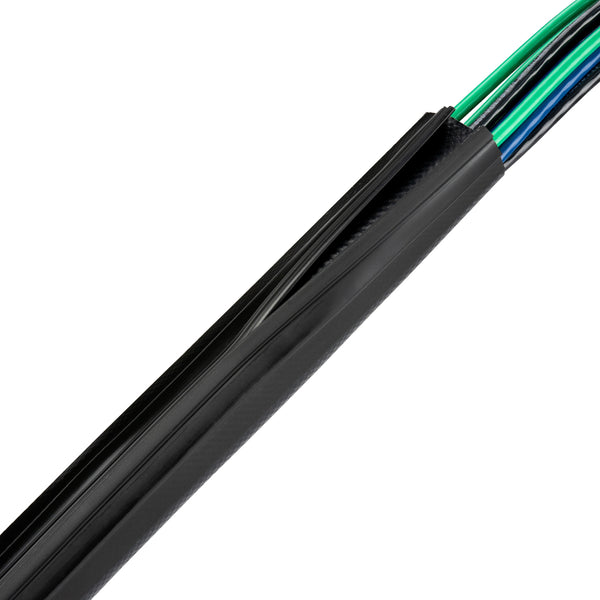
In short, Z-Track is an extremely versatile, medium duty cable jacket that uses an extruded interlock to wrap around your wires or cables.
Track Closure vs. Bend Location

ZTZ-SP Plier Tool
The ZTZ-SP tool is a Stainless Steel plier tool designed for closing Zippertubing® Z-Track products. The small hand-held plier tool utilizes small finger lips to spread the channel cavity of the Z-Track extrusion. At the same time the arrowhead side of the extrusion is forced into the open channel cavity. As the tool slides along the cable run the channel cavity closes behind the tool which traps the arrowhead barbs within. The tool makes closing Z-Track fast and easy while minimizing operator fatigue. As the tool slides along the cable run, it will form the jacket material into a continuous tube. Use the ZTZ-SP tool for all production line and field installations.

“ZTZ-SP” Plier Tool Instructions
The following procedure describes the installation of a Zippertubing® jacket, which has the Z-Track extruded inter-lock closure using the Zippertubing® “ZTZ-SP” plier tool. The procedure defines the basic closing procedure and provides several hints and tricks that will make installation easier. Keep in mind that a written procedure alone will not make you an expert. Only repeated experience with varying installation situations will tell you the best way to handle the unexpected. Learning to close Zippertubing’s Z-Track is much like learning to ride a bicycle. Initially, you will be wobbly and will probably have the tool fall off the tubing repeatedly. There is a “feel” to using the plier tool, just like there is a balance point that must be learned before riding a bicycle becomes second nature. The keys to success are practice, practice and more practice.
To correctly learn the “feel” of a properly closed Zippertubing® Z-Track jacket, it is suggested that you begin on a practice piece of Zippertubing® material. Ideally, this learning piece would be a non-shielded, vinyl material (Type 63 or PVL) approximately two feet in length. Feel free to test Steps 1-5 on your piece until you are completely comfortable with the process. Select a work area that has plenty of light and where you can sit down. Proceed to the installation sequence steps listed below.
Step 1: Material & Tooling
Examine the piece of Zippertubing® jacket material and the plier tool.
The image below illustrates the closure mechanism along each edge of the jacket in both the open (as delivered) and closed (installed) conditions.

The images below illustrate the plier tool construction and the end view of the tool


Step 2: Installing the Tool (right handed installer)
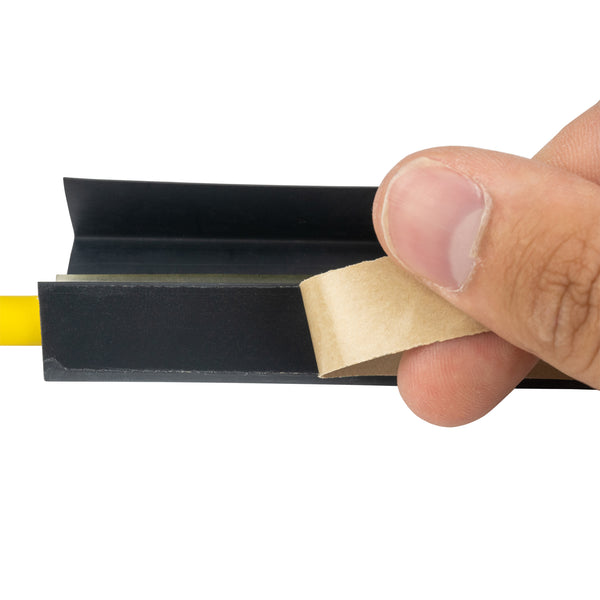
Hold the end of the jacket in your left hand with the channel extrusion facing up. Hold the tool in your right hand and spread the handles so the jaws open. Insert the top knife-edge (Figure A) tang of the tool tip into the slit of the channel approximately 1/2 to 1 inches back from the end of the material. With the fingernail of your left thumb spread (Figure B) the channel just ahead of the tool tip and twist the channel open so that the lower knife-edge (Figure C) tang of the tool enters the channel extrusion.


Step 3: Inserting the Arrow
While continuing to hold the tool in your right hand (jaws are not spread), grasp the end of the arrowhead side of the jacket with your left hand and bring the two jacket edges close together. This will create a tubular shaped jacket near the tool end. The tool should be set back from the jacket end approximately 1/2 to 1 inch. Pull the arrowhead end back so that it can be inserted into the tool window opening. The tool will have spread the two halves of the channel extrusion open enough in this area to allow the end of the arrow to enter the channel cavity. Pull the arrow end into the channel and continue until both halves of the Z-Track extrusion are even at the tube end.

Note: You may find that with some types of shielded Zippertubing® the jacket stiffness or just the snug fit of a non-shielded jacket around the cable will not allow the arrow end of the jacket to be pulled back far enough to be easily inserted into the channel. To ease this problem, use a pair of scissors and make a 45-degree cut, approximately 1/2-inch back from the end of the jacket on the arrowhead side. This will allow the end of the arrow to be closer to the tool window while not distorting the jacket material very much. You will discover that this will make inserting the arrow easier.


Step 4: Track Closure
Using the thumb and index finger of your left hand, grasp and pinch the arrow and channel together at the end of the tubing. Twist the tool counterclockwise slightly (about 10 degrees) and begin pulling the tool away from your left hand. As the tool slides along it will pull the arrow into the channel cavity and trap it.

After you have completed closing a few feet of the jacket, use your free hand and pinch the closed track with your fingers starting at the closed end (i.e. as if you were trying to push the arrowhead side into the channel manually). See Figure 3a. You may periodically hear a slight pop or click sound. These are areas where only the outer catch of the closure caught the top arrow barb. The click is the inner barb snapping into the channel cavity. This partially closed condition can be caused by excessive tool twisting or pulling the tool along the track too quickly. Figures 3b and 3c illustrate cross section views of the closure with 3b showing the correct closure and 3c depicting a partially closed track with only the top arrow barb caught.

Note: An excessive amount of twist will cause the track closure to spiral radially around your cable center. and result in the ends of the jacket not being even. Another negative to imparting too much twist is that it can contribute to the partially closed track condition described above.
Note: You can ease the tool pull force required by having an assistant preshape the Zippertubing® jacket material around the cable and into a tubular shape ahead of the area you are closing (Figure A). If you are working alone, you can loosely install a plastic cable tie around the cable jacket and slide it ahead of you to create the pre-shaped jacket effect (Figure B).

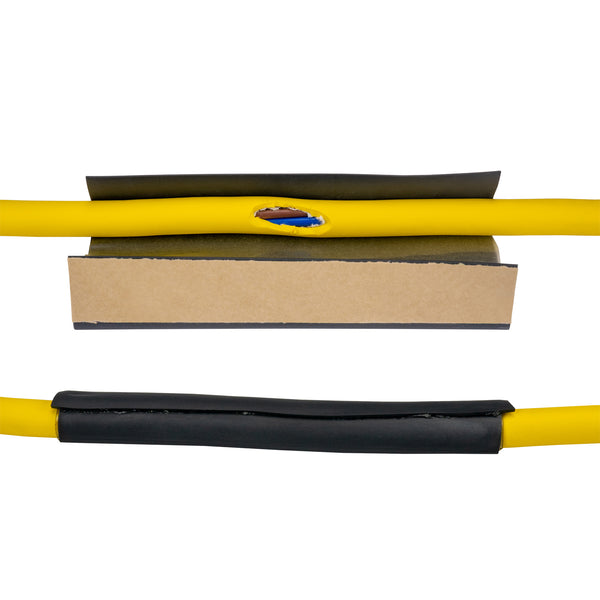
Step 5: Finished Jacket
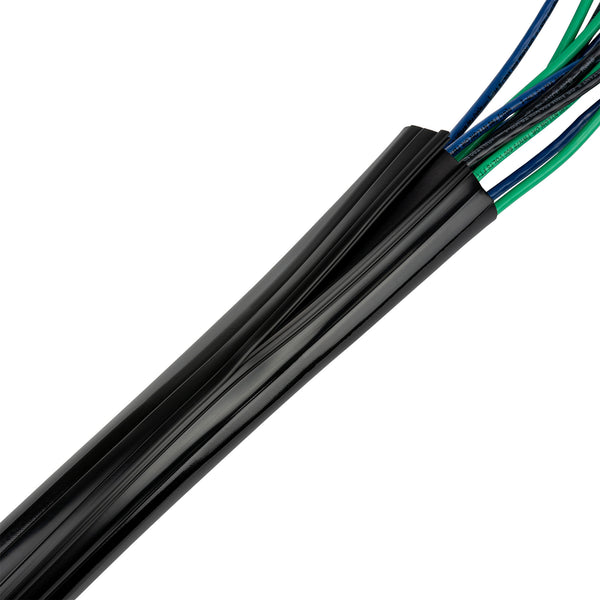
Once the Zippertubing® has been completely closed and the tool has slid off the end opposite the starting point you will notice that you now have a round tubular jacket from what once was a flat piece of sheet material. Had the jacket been installed around a group of wires and cables you would have a single cable harness that is much easier to route and manage.
Now grasp the closed tubular jacket on either side of the track near the middle of the tube length and try to pull the jacket open. You will find that it takes a significant amount of force to pull the track apart. Vinyl based Z-Track typically requires 30-35 pounds per inch width of force to cause the track to separate. Other materials will vary in strength, but a properly closed Z-Track does not open easily! The easiest place to pull a Zippertubing® jacket apart will be near the ends. If your jacket does open easily, then the area you pulled on was probably not closed correctly and had only one barb of the arrowhead properly engaged. Insure that you always go back and squeeze the track together with your fingers.

Note: If you need to unzip your closure, use your thumbnail and lift the outer catch of the channel side near the tubing end while pulling the arrow barb out and separate the jacket over its entire length.
Step 6: Starting & Stopping Mid Run
Some installations require intermittent starting and stopping, depending on your application. You may stop anytime by spreading the plier tool handles while rocking the tool slightly back and forth to pull the tool off the track. The condition you see before you will occur on production assemblies for a variety of reasons. To re-engage your tool, there is no need to unzip the entire tubing length. Finish re-closing a jacket in this condition simply by spreading the plier tool handles and pushing the tool back over the area where the track begins to open. Insure that the back of the tool jaws are up against the closed track area.

Step 7: Release the plier tool handles.
Grasp the plier handle as you normally would, then rock the tool back and forth as you pull; the tool will re-engage the track and continue closing it.

Step 8: Zippertubing® Facts, Hints & Tricks
All jacket diameters must be sized a minimum of +1/8” larger than the maximum cable diameter that is to be covered. The extra clearance is required for two reasons. First, the plier tool requires some room because the inner jaw of the tool is sliding down the inside of the closing tube. Second, all the tubing jacket materials are non-elastic and as a result must wrinkle up on the inside of all bend radii. This wrinkling effectively reduces the amount of material available to go around the circumference of the cable bundle in these bend areas. The +1/8” oversize has been found to be sufficient for bundle diameters up to 3-7/8.” For cable bundles of 4.0” and larger, this should be +1/8” to +1/4” oversize. The general rule for Zippertubing® is: too big may be undesirable, but too small is scrap!
Some Zippertubing® material types cause more tool friction than others and as a result can make the tool hard to pull, especially over long jacket lengths. Pre-shaping the tubing ahead of the tool, as previously described, can help reduce this problem. See A & B below.

Adding a small amount of talcum powder, Isopropyl Alcohol (IPA) or other non-Silicone lubricant to the channel side of the track can also ease the pull force required for closing the track. Keep in mind however, that this lubricating action will also reduce the overall closure strength of the Z-Track joint. Isopropyl Alcohol (IPA) is preferred since it will evaporate quickly providing the desired short term lubrication while not reducing the long term track strength.
Note: Always test any lubricant not listed above on a small piece of material to insure that it does not degrade the jacket material.
CAUTION: The Isopropyl Alcohol (IPA) material is flammable and may or may not be acceptable in your application situation. Verify with your in-house process engineering department that it is acceptable to use prior.