How to install PRT®
Watch our video or read our full instruction guide with helpful images to ensure your PRT installation is correct.
What is PRT®?
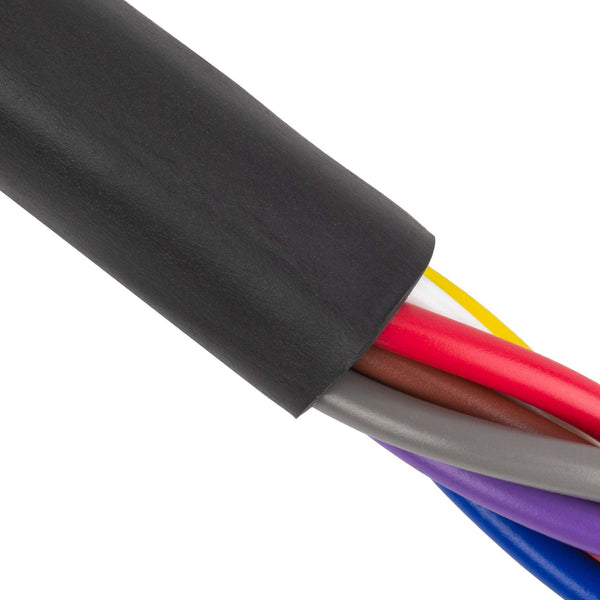
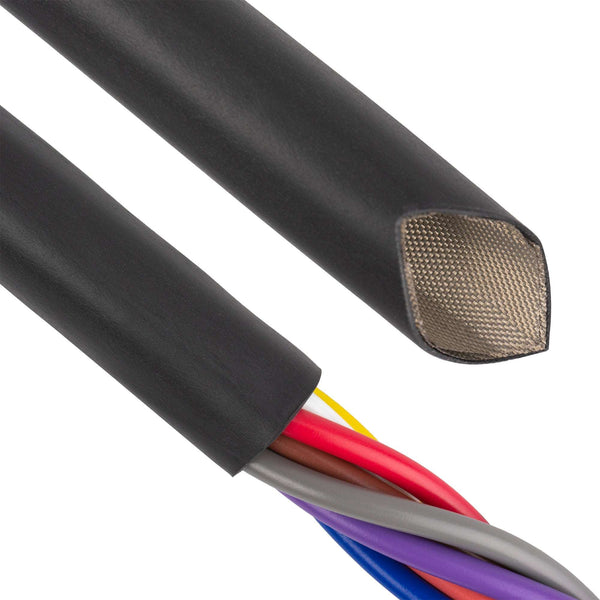
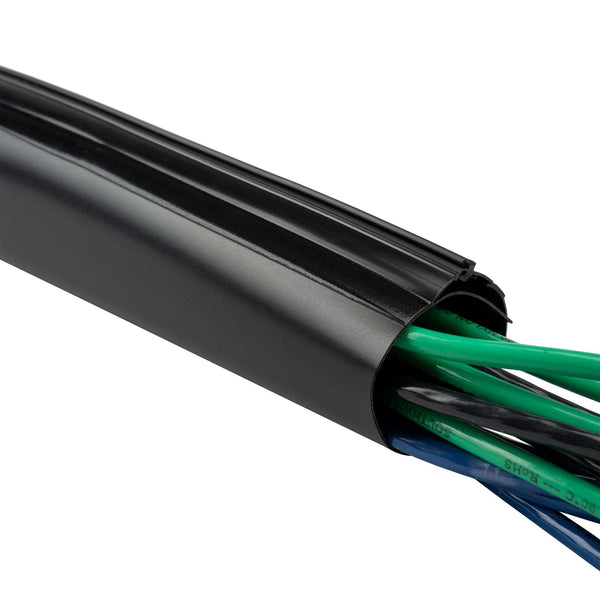
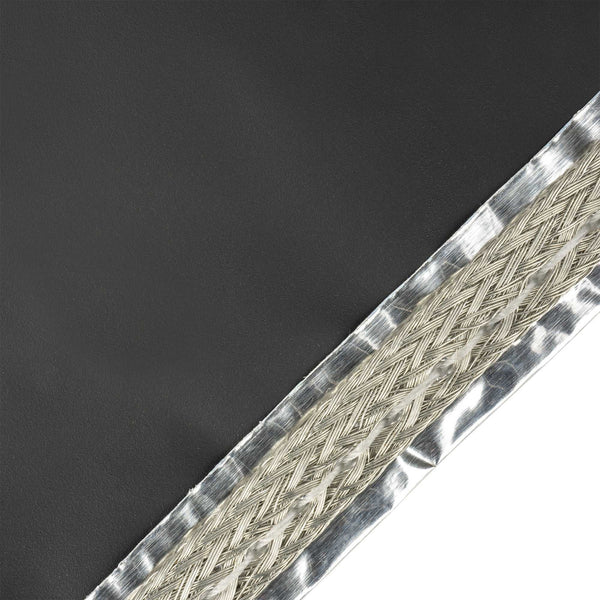
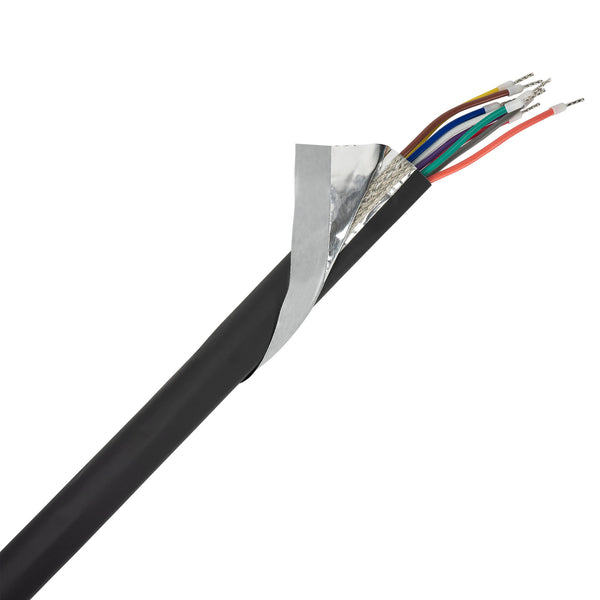
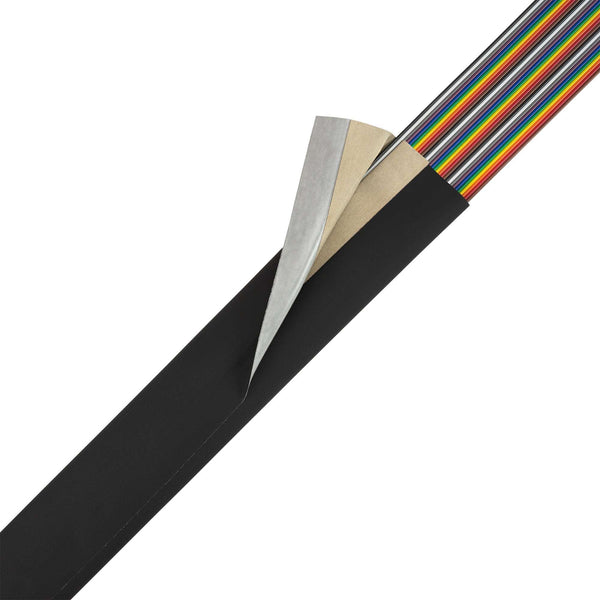
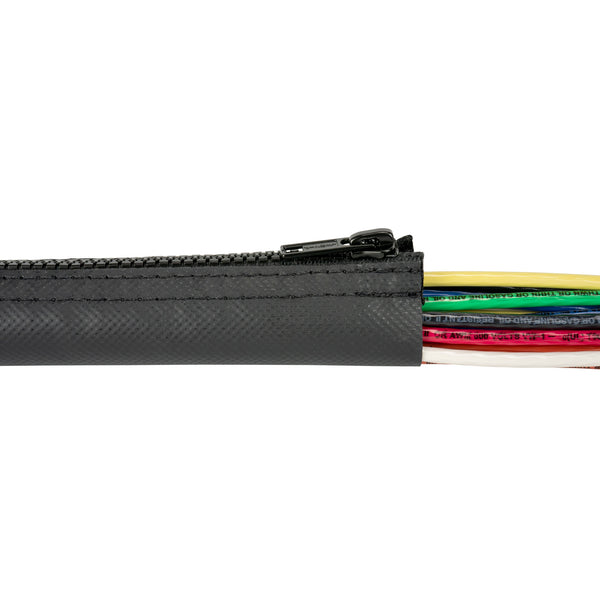
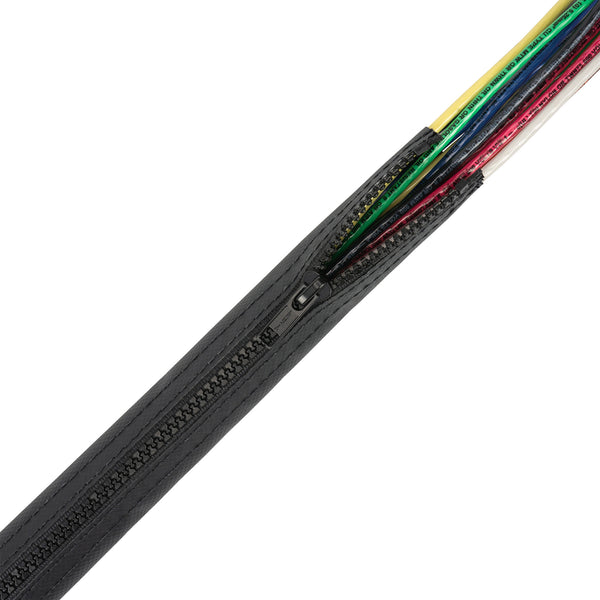
PRT® tubing is a wrap-around, heat shrinkable tubing that provides the same high performance characteristics of solid heat shrinkable tubing with the installation ease and time savings associated with an electrical tape wrap. PRT® eliminates 99% of the electrical harness disassembly problems classically associated with a shrink tubing repair or modification by eliminating the need to slide the tubing over the end of the wire. A PRT® jacket can be used to provide additional chemical, mechanical, electrical or thermal protection to a wire or cable. It provides operational longevity comparable to standard shrink tubing while minimizing installation and down time.
CAUTION: Prior to beginning any work on production assemblies it is suggested that installers read the instructions closely and practice using this material on mockup assemblies. Personnel familiar with installing heat shrinkable tubing will be aware of some of the general do’s and don’ts when installing these types of materials. However, working with a split heat shrinkable material and a pressure sensitive adhesive presents different handling requirements from standard tubing. Good results will be obtained by closely following this installation procedure.
Step 1: Sizing
Measure the outside diameter of the wire or cable to be covered with the PRT® tubing using a caliper or micrometer. Use the table below and find the measured cable diameter. Select the corresponding PRT® tubing size. If your cable OD is within .020 inches (0.5mm) of the high end of a cable size range, it is recommended that you select the next larger PRT® size. A larger size will yield a jacket with the least residual stress and still be snug on the cable when fully shrunk.
Note: Selecting a PRT® tubing size smaller than recommended may result in the material opening up during the heating process.
| PRT® Size | Cable Diameter Inches (mm) |
PRT® Size | Cable Diameter Inches (mm) |
| 0 | 0.090 - 0.124 (2.3 - 3.2) |
8 | 0.88 - 0.99 (22 - 25) |
| 1 | 0.125 - 0.187 (3.2 - 4.8) |
9 | 1.0 - 1.12 (25 - 29) |
| 2 | 0.188 - 0.249 (4.8 - 6.3) |
10 | 1.13 - 1.24 (29 - 32) |
| 3 | 0.25 - 0.37 (6.3 - 9.5) |
11 | 1.25 - 1.37 (32 - 35) |
| 4 | 0.38 - 0.49 (9.5 - 13) |
12 | 1.38 - 1.49 (35 - 38) |
| 5 | 0.50 - 0.62 (13 - 16) |
13 | 1.50 - 1.62 (38 - 41) |
| 6 | 0.63 - 0.74 (16 - 19) |
14 | 1.63 - 1.74 (41 - 44) |
| 7 | 0.75 - 0.87 (19 - 22) |
15 | 1.75 - 1.87 (44 - 48) |
Step 2: Preparation
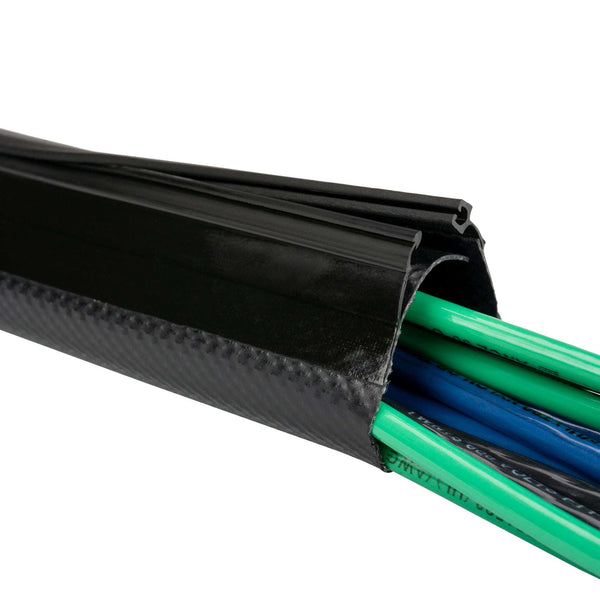
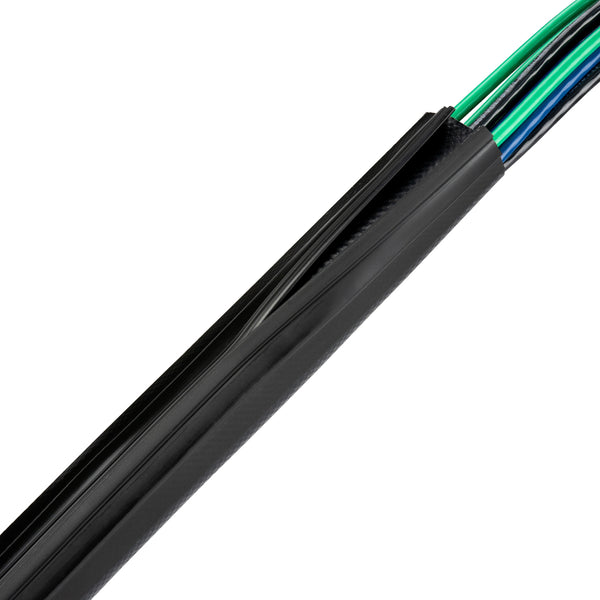
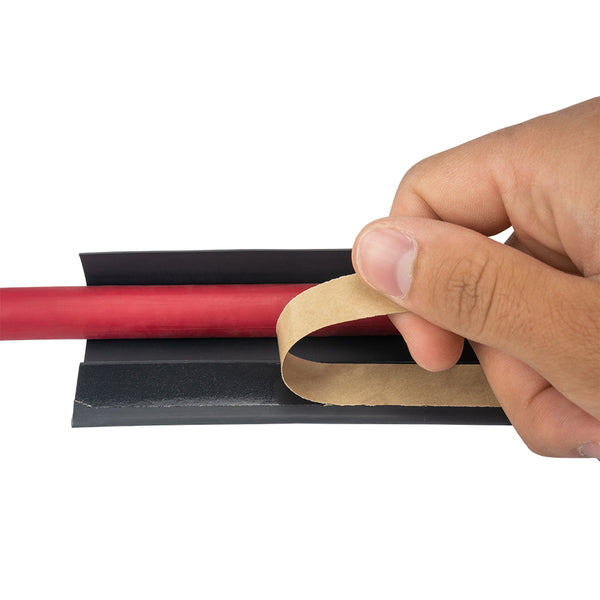
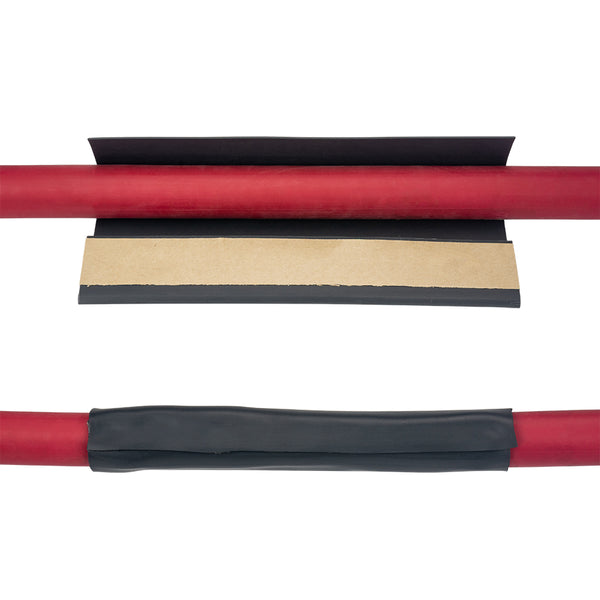
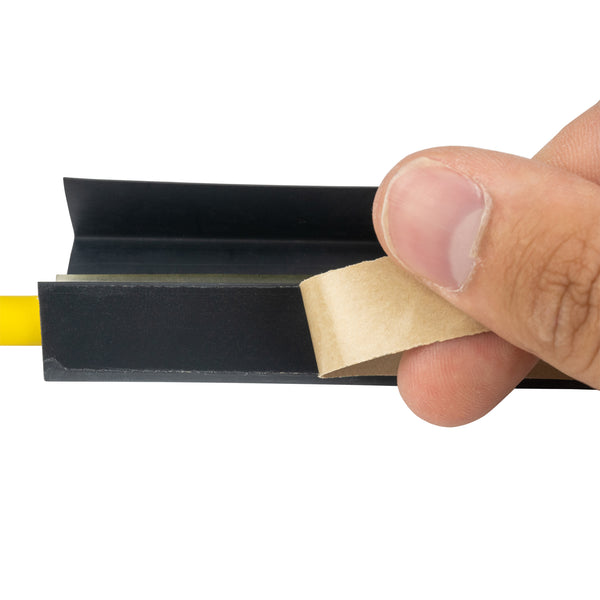
Cut the PRT® Tubing from the spool or roll as needed using scissors. Wrap the tubing around the wire or cable so the paper release liner faces the installer. Peel back a short portion of the release liner (not all) and expose the adhesive. Position the non-adhesive edge of the tubing over the exposed adhesive section and align so all the adhesive is covered but no more. Never over-wrap the tubing leaving a loose flap of material at the overlap. Doing so could result in an undersized tubing condition and lead to the tubing tearing apart during the heating process. Begin bonding the tubing overlap edge to the adhesive. Avoid contacting the adhesive with your fingers as much as possible. Remove short sections of the release liner until the entire tubing length is sealed closed. Rub the overlap seam area firmly using your thumb to work out any wrinkles. Minor wrinkles will disappear when the tubing shrinks.


Preparation Notes:
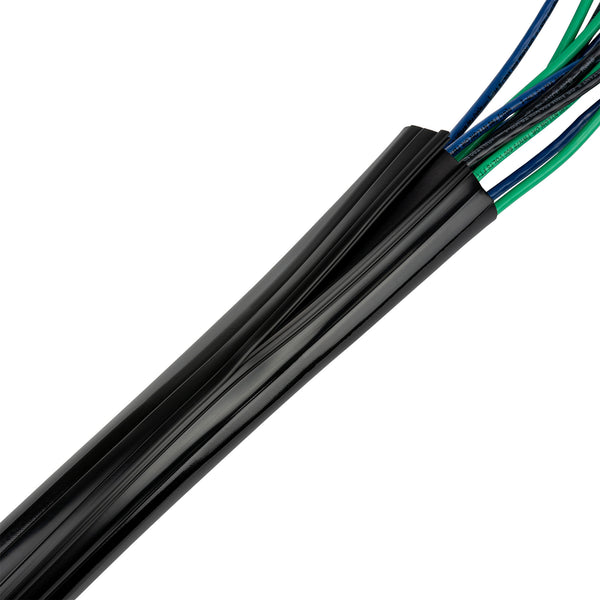
When PRT® is removed from the original spool it may have a flat profile with creased edges. Do not be alarmed by this shape, it will disappear when the product shrinks.
If the material was pre-cut into pieces or not stored on the original spool you may find that the material has rolled up like a cigarette along its longitudinal axis. This is common for sizes of 3/8 inch or less. This material is usable and can be unrolled and installed as described above. All tension will be relieved once the material shrinks. Store pre-cut pieces in a flat condition to minimize curling.
Step 3: Positioning
Position the PRT® tubing on the wire, cable or bundle as desired. Locate the tubing’s overlap seam so it faces the installer is always the easiest installation. Keep in mind that the tubing’s wall thickness at the overlap area will be twice as thick, so orientating it to face areas susceptible to chaffing or abrasion could be desirable. If abrasion is not an issue but cable bending is, then the overlap seam should be located on the outside of the radius so the thin wall section is on the inside.
Positioning Notes:
Do not be concerned over the large size of the sealed tubing versus the wire size. It will always appear extremely large.
You may shrink the tubing in place immediately after sealing. The closure adhesive system has no cure time.
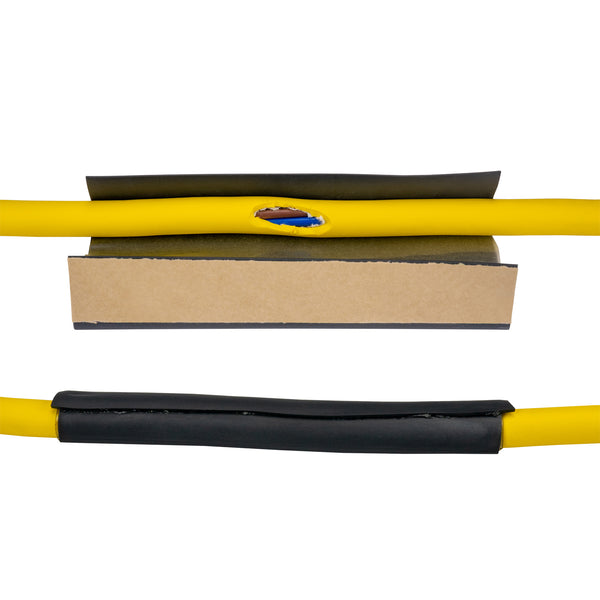
Step 4: Shrinking
PRT® tubing begins to shrink at 90ºC (194ºF), however to achieve a timely and uniform installation it’s desirable to use a heat gun temperature setting of 120 -130ºC. Always use a small reducer nozzle that will allow you to localize the heat stream. (Photo 1) Never use a tubing reflector designed to spread the heat evenly or an Infrared type of heat gun.
a) Begin shrinking the PRT® tubing by directing the heat source at the adhesive overlap area near the center of the tubing (Photo 1). Apply heat to the adhesive overlap area only! The overlap area will tend to curl up into a “U” shape as it is heated (Photo 2). Continue applying heat in short bursts to this area until the surrounding tubing begins to pull the “U” shape back down flat. Do not be afraid to apply extra heat to the overlap area, as it will take extra dwell time for the inside layer of the overlap to shrink. Do not be alarmed if the outer layer of the overlap flap tends to lift off the adhesive and curl back slightly during initial heat exposure. With continued heating this lifted area will generally lay back down on its own, if not, lightly tap the lifted edge as necessary with a wooden Popsicle stick Shrink the overlap seam area along its entire length before making any attempt the shrink to remaining tubing.


b) After the overlap seam has fully shrunk begin applying heat to the remaining tubing. With small diameter tubing sizes you may find that most of the remaining tubing has already shrunk. Visually examine the entire circumference of the tubing and apply localized heat to any areas that show evidence of insufficient heating. While the tubing is hot you may work or form the PRT® tubing and cable as necessary. Once properly positioned allow the finished assembly to cool to the point of being warm.
c) The finished assembly may display a shiny, sticky area, parallel to the overlap seam. This is residual adhesive that was exposed as the overlap material pulled back during shrinking. The excess adhesive can be removed while the tubing is warm by rubbing your thumb along the overlap seam line. Rubbing the seam area will ensure good overlap contact and the excess adhesive will ball up ahead of your thumb. Remove excess adhesive as necessary and discard.


Troubleshooting
The most common problem likely to occur when installing PRT® tubing is a overlap seam rupture. This is a condition where the overlap seam pulls apart during installation. Seam ruptures are most likely to occur during the learning phase of PRT® installations. Once the proper installation technique has been mastered this problem will disappear. Rushing to complete an installation is a big factor in creating a seam rupture.
Seam ruptures occur for two reasons and are controllable by the installer.
-
a) Incorrect size: The PRT® tubing selected was too small for the cable diameter being repaired.
-
b) Excessive Heat: Too much heat was applied too quickly to the PRT® tubing.
If a rupture does occur the tubing must be replaced. Verify that the tubing size was correct? If correct, then adjust the heating technique by applying heat more slowly and evenly. Minimize heat exposure to the tubing beyond the overlap flap. Use a “sneak up on it” approach where the heat is repeatedly removed from the tubing for a few seconds allowing it to cool and then re-applied. In awkward installations, a piece of Aluminum foil can be useful as a heat block to blind the heat from the surrounding tubing.
Installer Note: Using the PRT® tubing repair method will generally eliminate a large amount of cable harness disassembly and rework time. As a result, don’t be in a rush to complete the installation. Take the few extra minutes to plan the installation, heat the sleeve slowly and work the materials as necessary to ensure a good first time repair. The extra time spent doing this will be small in comparison to the time required to perform a classic repair that involves connector disassembly.