How to install Z-Shield®
What is Z-Shield®?
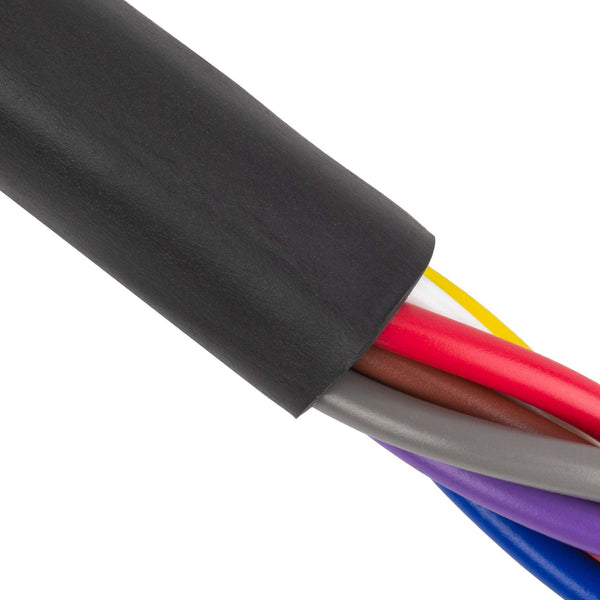
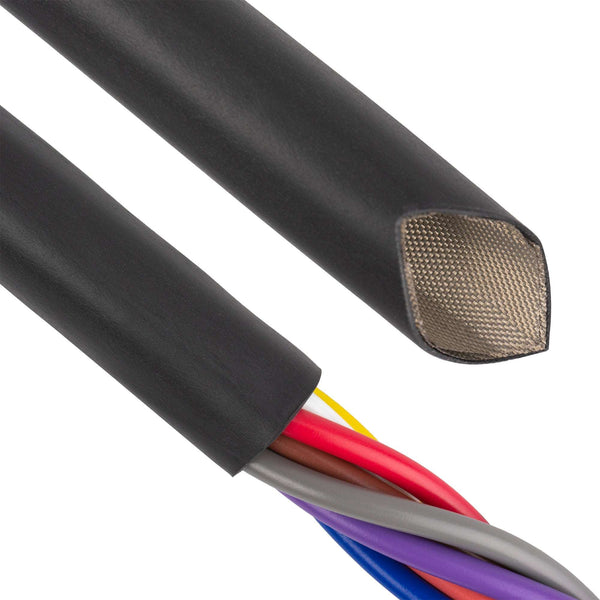
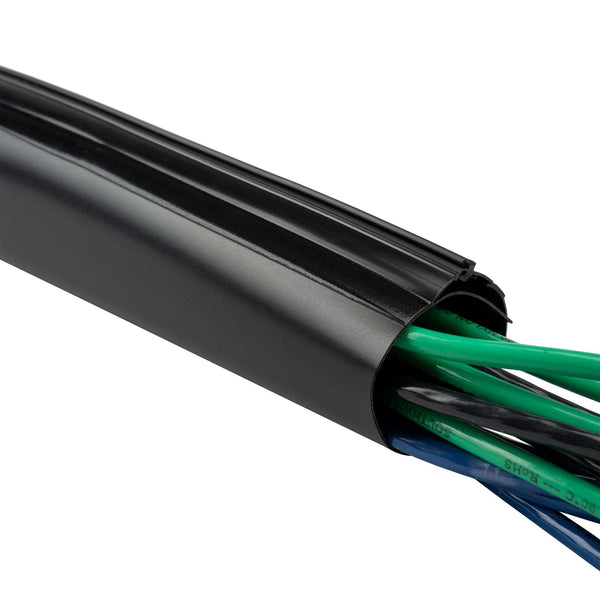
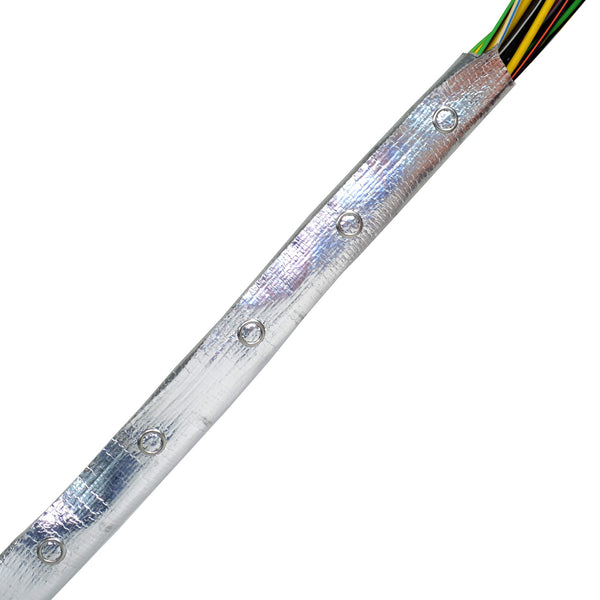
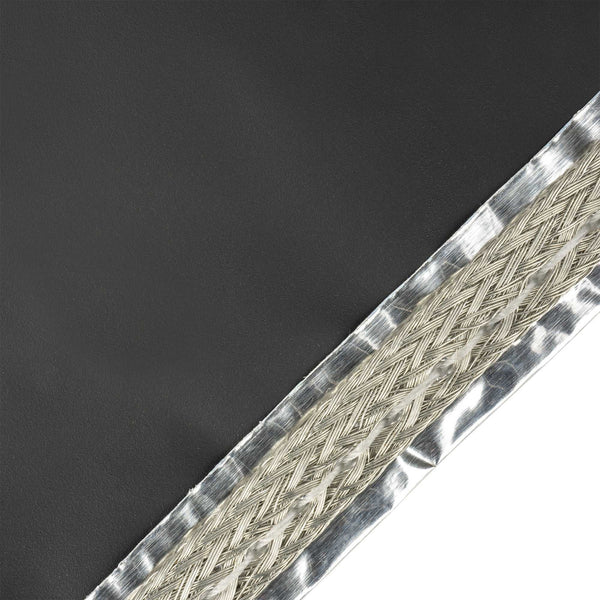
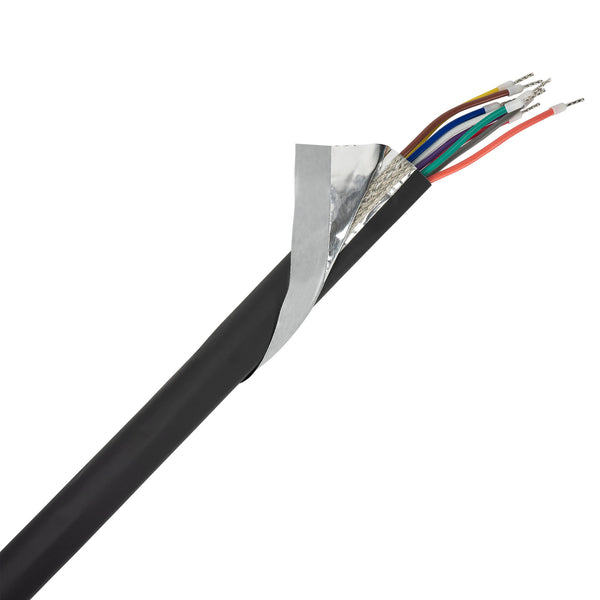
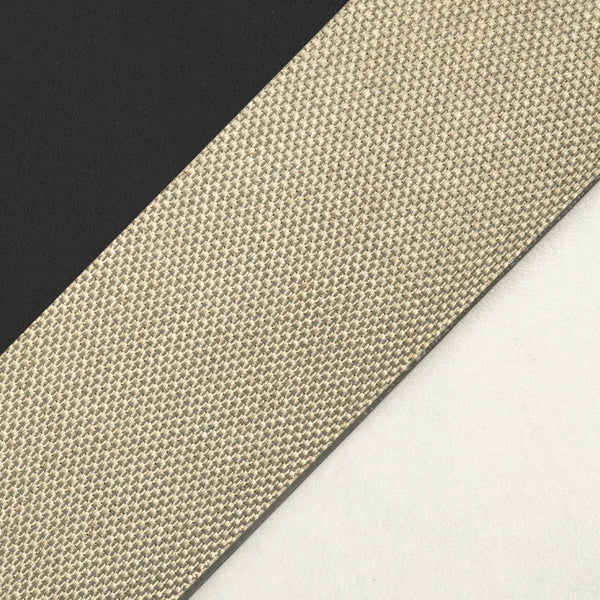
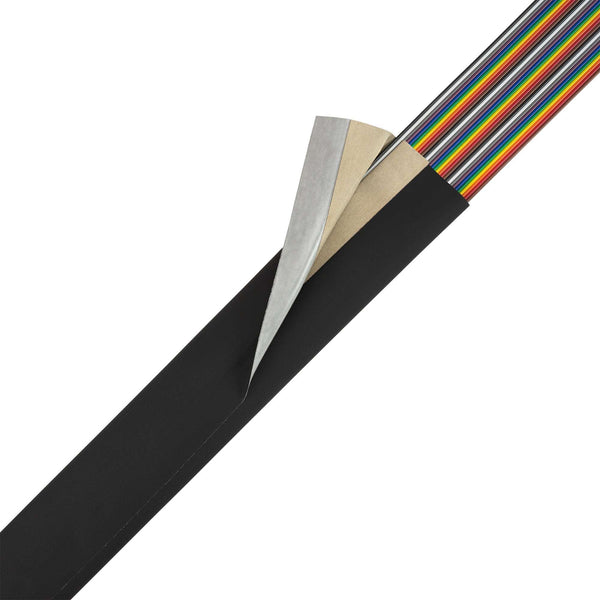
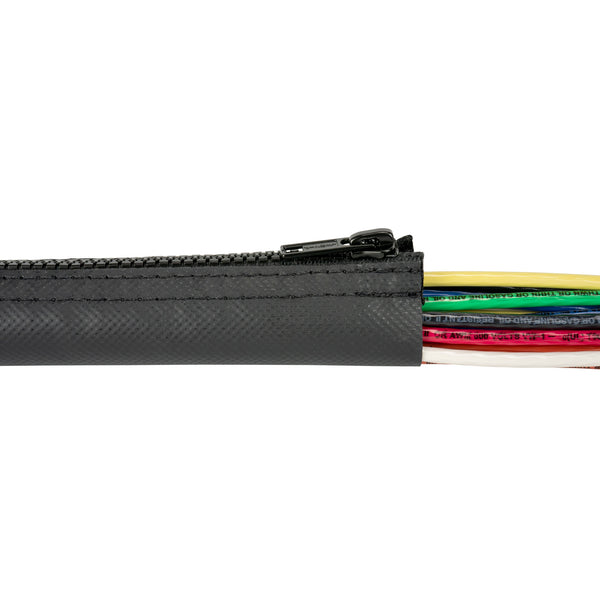
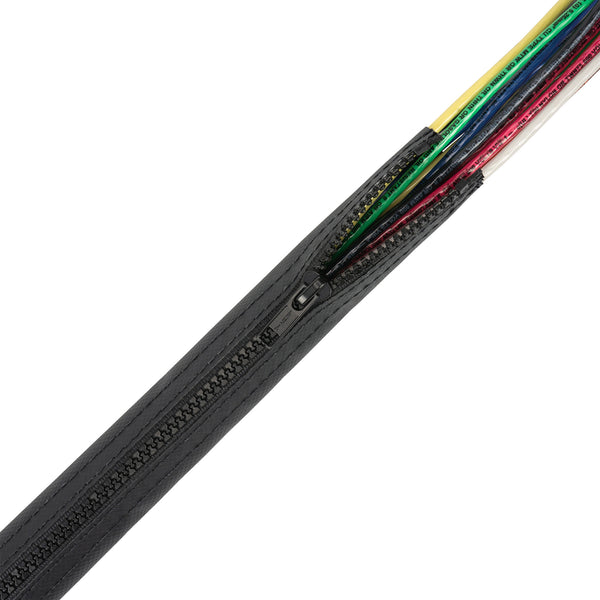
Z-Shield® is a wrap-around, EMI-shielded jacket made of fire-retardant polyurethane film, Z-3250-CN EMI shielding cloth and an adhesive closure. This combination provides excellent electromagnetic shielding of wires and cables in applications requiring outstanding flexibility, flame retardancy and good dielectric strength. Extremely useful in electronics applications where space limitations may require a thin and flexible shielding. Z-Shield® can be configured to fit most Round, Flat or Rectangular cable configurations and is available with or without a ground strap. This product has an operational temperature range of -45 to 107°C. Types of Z-Shield® Installation The following procedure is recommended when installing The Zippertubing® Company's Z-Shield® products around cable assemblies. Note: Prior to closing this product around any cable assembly, a means of providing an electrical ground termination to the shield shall be determined by in-house engineering. A ground termination methodology must be defined and installed prior to closing the shielding around a cable.
 |
 |
 |
 |
Closing Procedure
Step 1: Personnel handling the Z-Shield® product should wear gloves or finger cots to avoid contaminating the bonding surfaces with body oils. Gloves will also eliminate any potential skin irritation from the nickel-plated polyester fabric in standard Z-Shield®.
Step 2: The outer polyurethane jacket material should be cleaned prior to installation using a rag and Isopropyl Alchohol (IPA). Ensure that the jacket surface is clean and dry prior to closing.
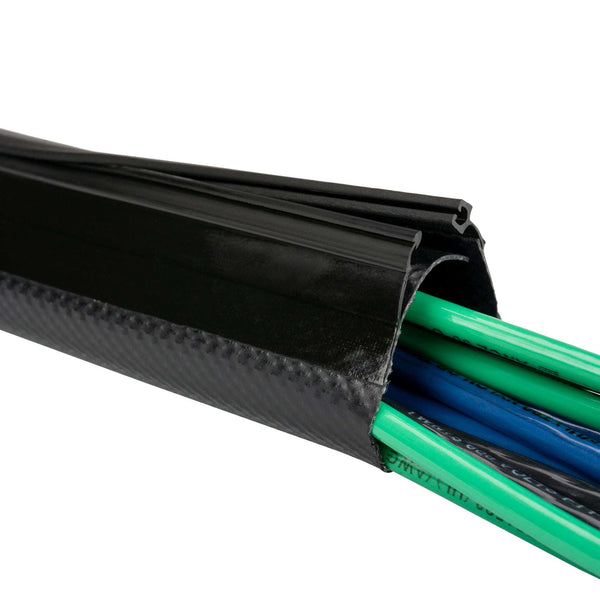
Step 3: Lay the Z-Shield® jacket on a smooth, flat surface with the shield surface facing up. Lay the cable assembly on top of the shielding material. Position the cable on the jacket material as shown in the examples.

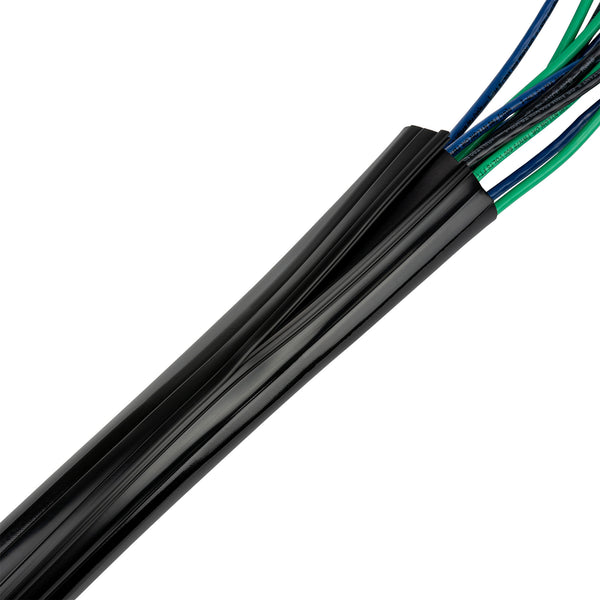
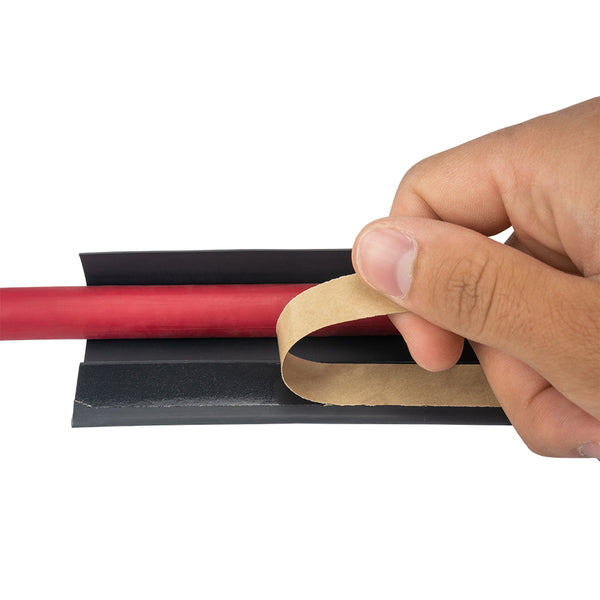
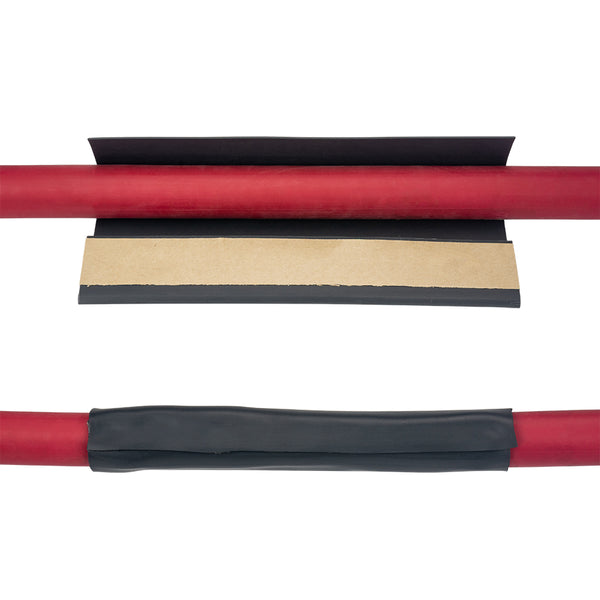
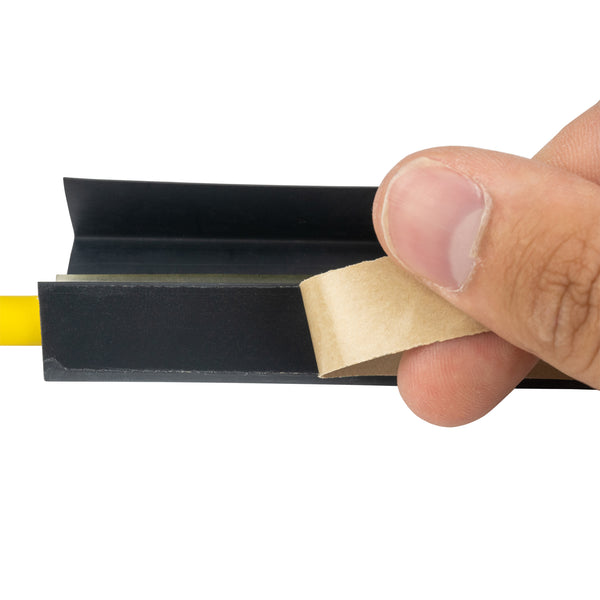
Step 4: Hold the cable and the jacket together and wrap the jacket around the cable assembly. It may be advantageous to have an assistant help hold and pre-position the materials while the operator seals it during actual installation. Verify that the exposed adhesive will land on the polyurethane film jacket and not the shield material! If the adhesive aligns with the shield material, the cable diameter is too large for the jacket! Verify that the correct jacket size was selected and the cable bundle size has not increased since the jacket was ordered. Step 5: Prior to removing the adhesive release liner, be sure that the jacket is positioned so that the adhesive seam line will be parallel to the cable. Peel back the paper release liner a few inches only, pull the jacket so that it is slightly snug on the cable and press the exposed adhesive surface to the clean jacket surface.
Note: Adhesive should never contact shield material!

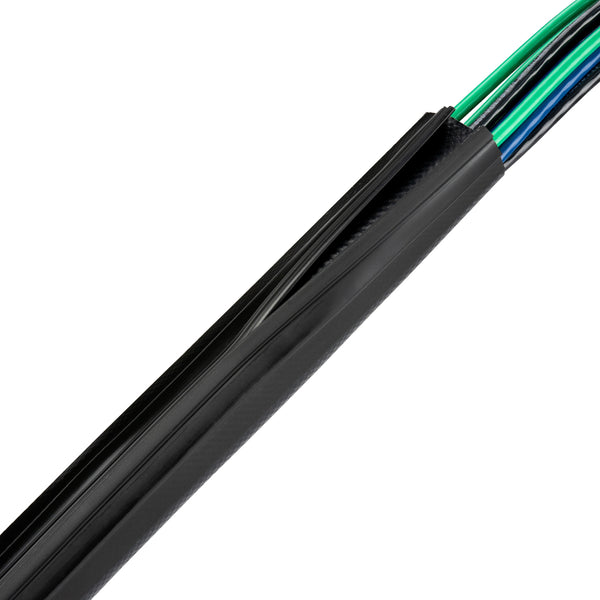
Step 6: Continue to work down the cable assembly, closing only short sections at a time. Your assistant should ensure that the jacket and cable assembly are aligned properly. Trying to close too large a length of jacket at one time will result in wrinkles appearing along the seam line.
Once the seam has been closed completely, use a smooth roller or mandrel to apply uniform pressure to the seam line and work out any wrinkles.
Step 7: Is it closed correctly? Should be yes to all of the following conditions!
- The smooth polyurethane film is on the outside
- The shielding material is facing the cable insulation (except Z-Shield® (2L) where a jacket is on both sides)
- The shield material is overlapped and contacts itself
- The adhesive mass landed on the smooth jacket material
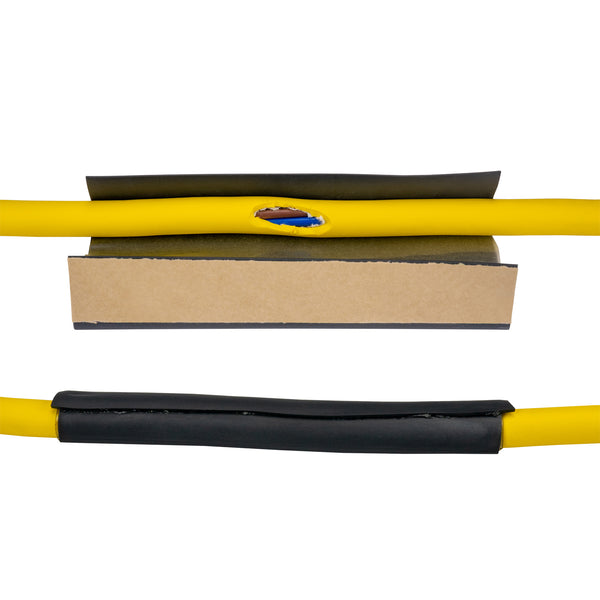
Below are cross sectional views of properly configured closures
Flat Cable

Round Cable

Termination Guide for Z-Shield® Products
1: Sewn-In Ground Lead (Recommended)
Z-Shield® products can be ordered with a 15 AWG, flat ground strap sewn to the shield along the jackets entire length or short pigtails can be attached at the ends per customer specifications. Terminal hardware and ground-strap insulation can also be supplied upon request.

2: Connector Termination
There are too many connector and backshell hardware variations to give specific details as to exactly how Z-Shield® should be terminated to a particular connector. The following is a general description of how the shield might be terminated given the proper hardware size. Example 1 shows the Z-Shield® closed and compressed under the shield compression ring of an EMI shielded connector. In Example 2, the Z-Shield® is simply wrapped around the back of the connector body and held in place using a band clamp or cable tie. In Example 3, the Z-Shield® has been folded back onto itself and compressed in a saddle clamp.