How to install the R-Track
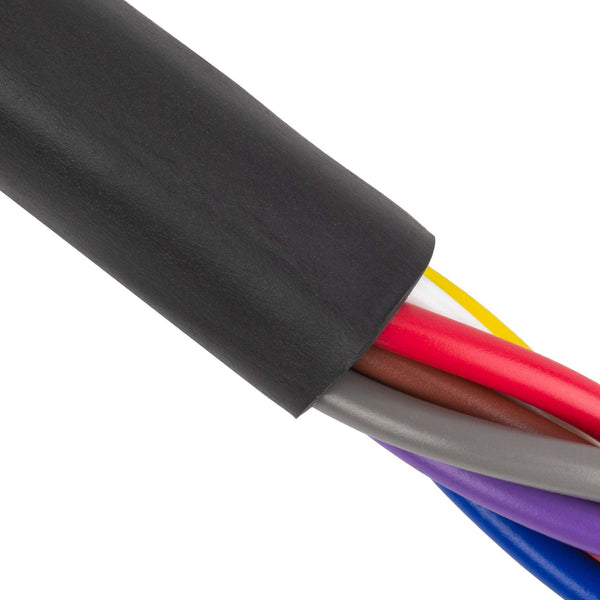
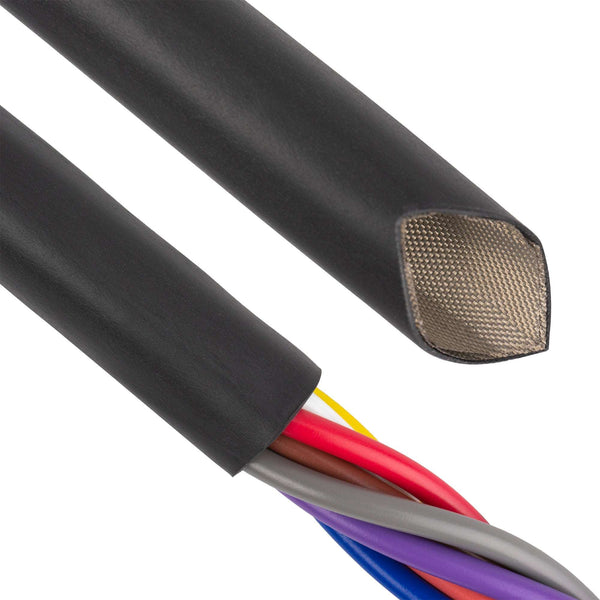
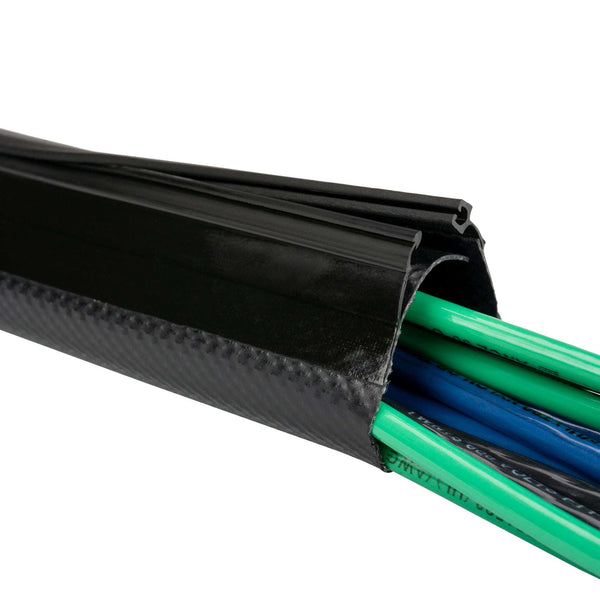
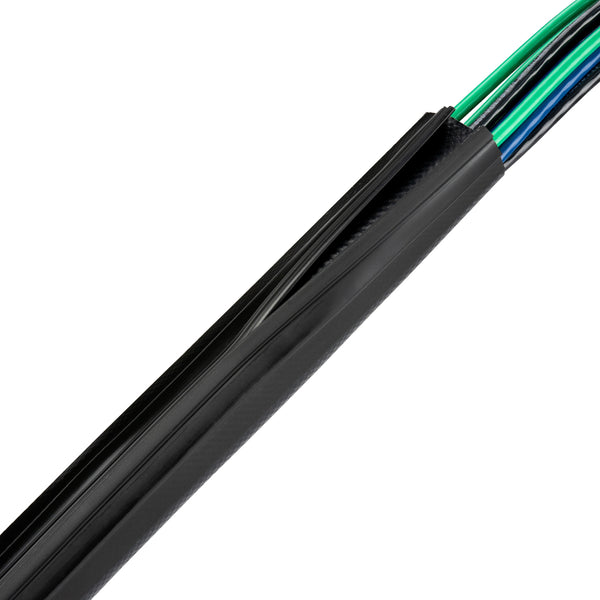
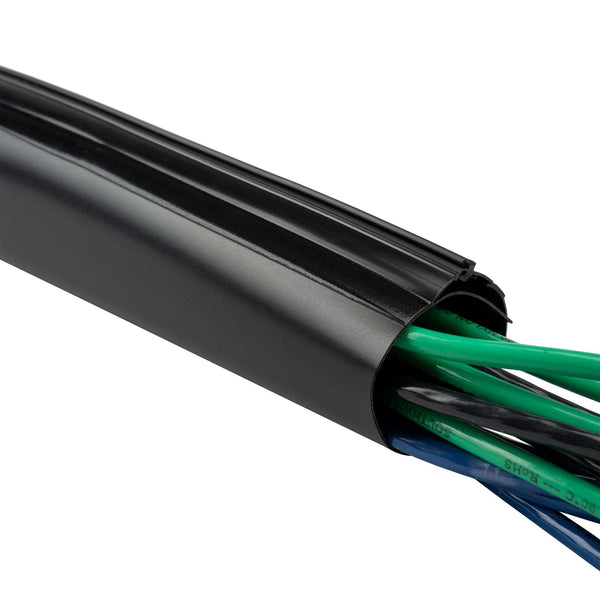
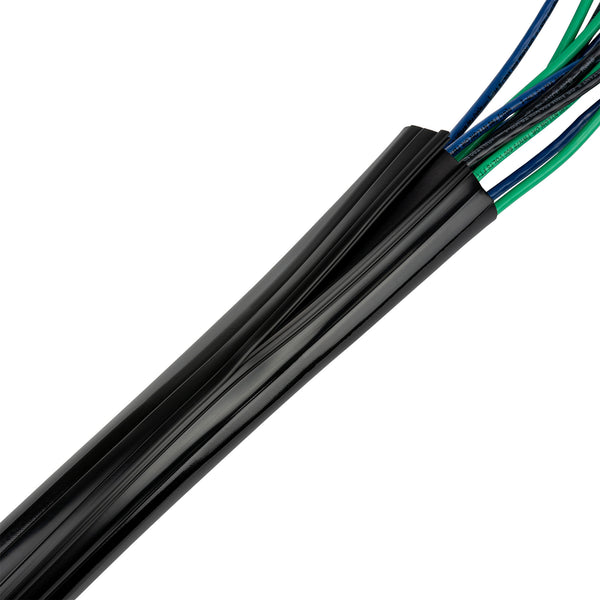
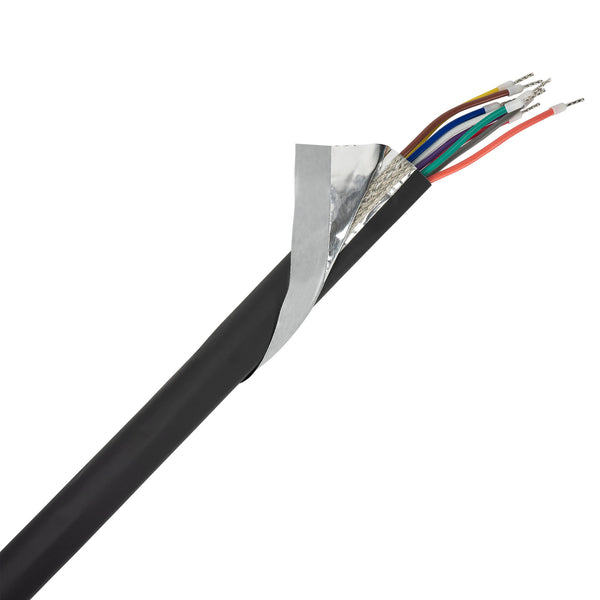
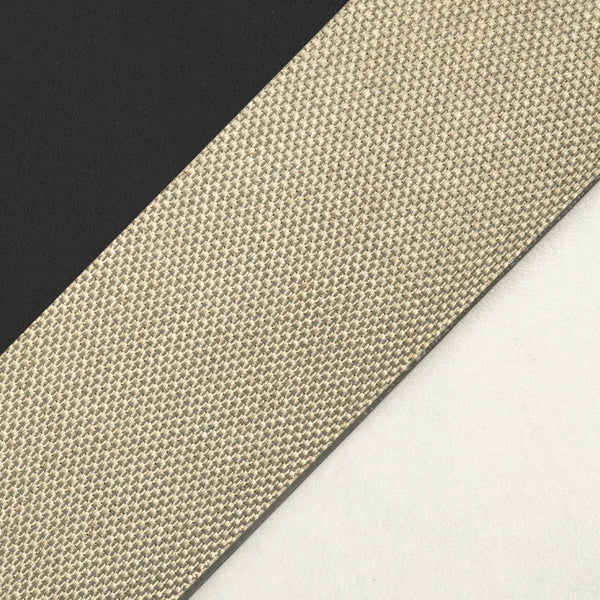
The R-Track closure is a small PVC based “Zip-Lock” style closure that is approximately 0.150” wide which can be utilized with all PVC based jacket materials. The interlock has an approximate hoop strength of 10 lbs/linear-inch and is flame retardant.
R-Track can be closed using thumb pressure alone or with the aid of the “SLR” slider tool. It is best suited for Flat or Rectangular cable applications in sizes up to 1-1/2 inches wide.
A light duty, thumb pressured closed, extruded interlock.

Installation Notes:
“SLR” SLIDER TOOL INSTRUCTIONS
The SLR tool is an inexpensive metal ring slider tool designed for closing Zippertubing® R-Track products. It is ideal for both production line and field installations. The R-Track closure mechanism can be closed manually using thumb pressure in most flat ribbon cable applications. However the SLR tool makes closing long cable runs easier, eliminates operator fatigue and sore fingers. The SLR tool is best suited for closing R-Track jackets around round wire and cable. Round cables do not provide the operator with the same solid surface to apply thumb pressure like flat cables do. Track closure is achieved by inserting the upper and lower halves of the R-Track interlock into the tool and then sliding the SLR tool down the cable run. The tool will pull the track halves together and create a continuous tube as it slides along the cable run. Use the SLR tool installation sequence below as a guide to close any Zippertubing® product that utilizes the R-Track closure.
Step 1: Examine the “SLR” slider tool. The larger back end of the tool resembles the letter “S”. The large end is where you insert the two R-Track halves. The opposite end of the tool has a small slot and is the wedge where the track will be driven together and exit the tool.

Step 2: Wrap the Zippertubing® around the cable. Hold the tool with the large end facing the track ends to be closed. Insert the track half with the grooves that are facing up into the bottom cavity of the tool and the half with the grooves facing down into the top cavity.

Note: The slider will only fit on one end of the jacket. If the slider will not accept the track as described, start closing the jacket at the opposite end.
Step 3: Push the two track halves into the wedge area of the tool. Ensure that the legs of the two track halves align correctly and inter-lock together:

Step 4: Once the tool is installed and both track halves have been interlocked for approximately one half inch, grasp the mated end of the track and pull the tool along the cable length using your index finger in the pull ring. Close the remaining track around the cable assembly until the tool slides off the end.

Installation Notes:
- It is desirable to have an assistant pre-form the jacket around the cable ahead of you as you close the jacket. This will reduce the load on the tool and eases the pull force required to zip the jacket into a tube. If working alone, you can wrap a cable-tie loosely around the Zippertubing® jacket and cable assembly to pre-form jacket and bring the edges of the jacket close together. Slide the tie-wrap along ahead of you as you close the jacket.
- On long assembly lengths lubricating the tool and track surface with a few drops of Isopropyl Alcohol (IPA) will reduce the tool friction and ease the closure process.
CAUTION: Do not use oil or silicone based lubricants that will remain on the jacket/track surface since these may reduce the mechanical closure strength and contaminate the finished assembly.
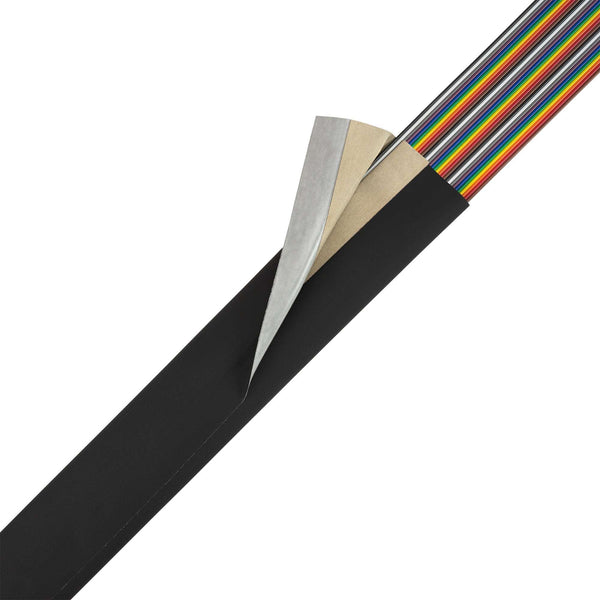
Sealing Zippertubing® Extruded Tracks
All Zippertubing® products that utilize extruded closure tracks (except type FEP) can be permanently sealed after closure using the following method. Under normal circumstances, a properly closed Zippertubing® track does not require post closure sealing. However, in some applications where an environmental or tamper proof seal is desired or extreme abuse is anticipated, the post sealing process can insure that the track does not re-open inadvertently.
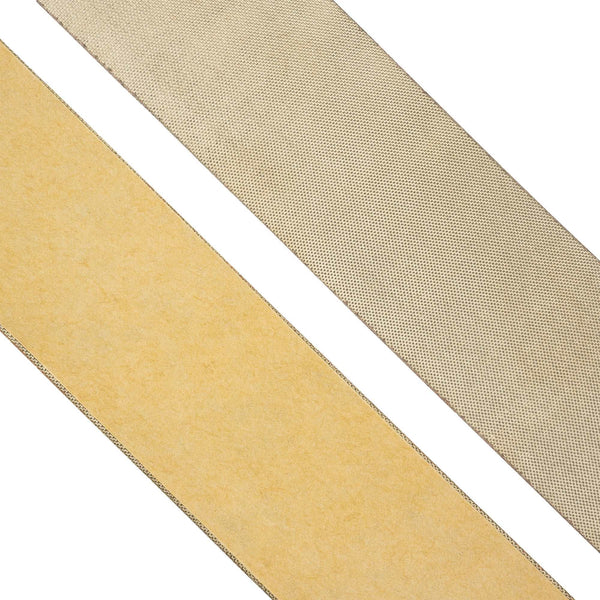
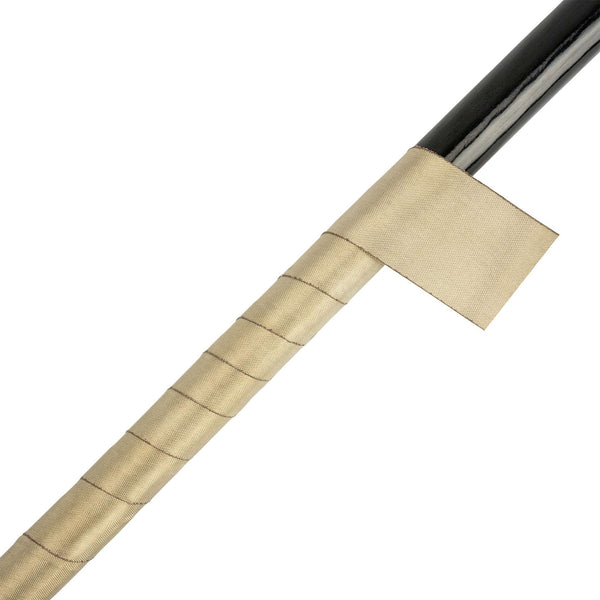
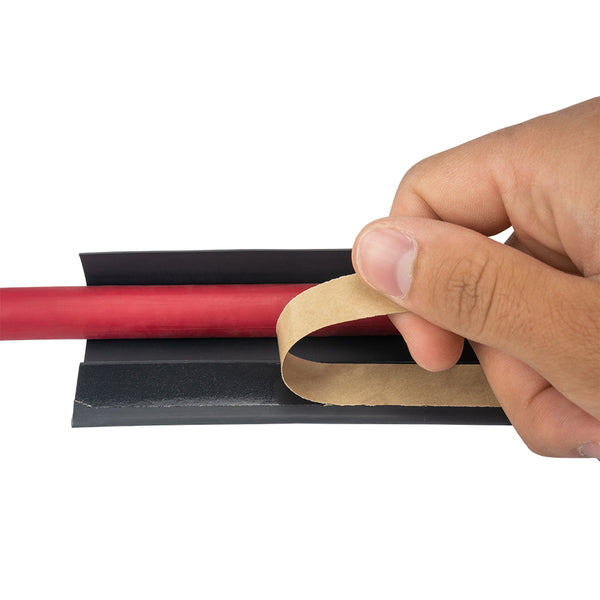
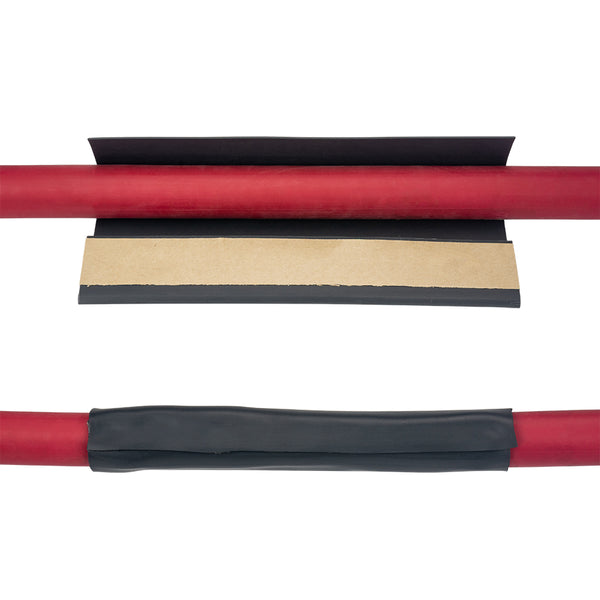
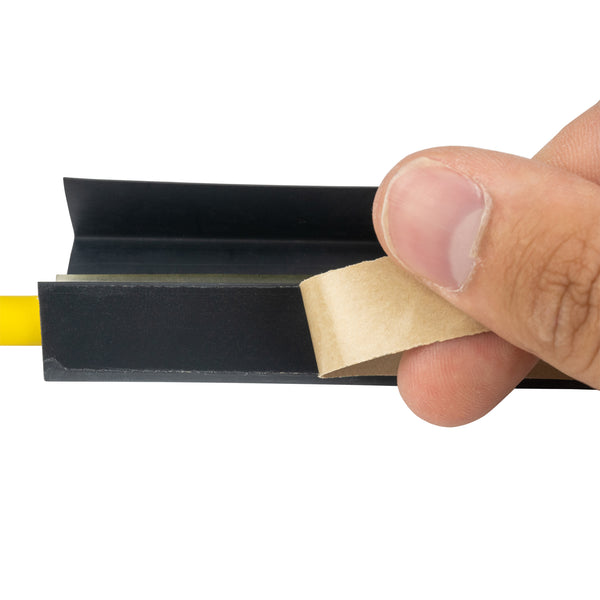
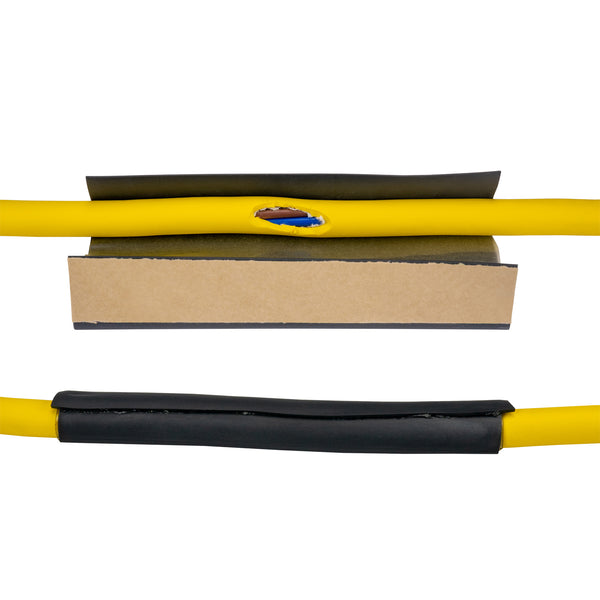
ZT-TAPE
This method involves placing a 1-inch wide strip of Zippertubing’s ZT-Tape down the center of the inter-locking track split line after the track has been closed. The ZT-Tape is a UL-510 recognized, fire retardant, Polyurethane film tape with an Acrylic adhesive backing. The adhesive is compatible with both PVC and PFR track materials and is easily applied. The tape sealing method provides additional closure strength, improves environmental tightness and is an environmentally friendly process