How to install PRT® (1553)
What is PRT® (1553)?
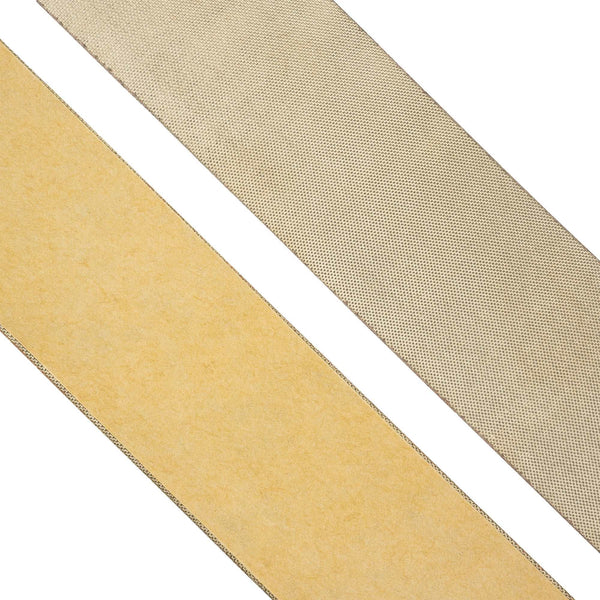
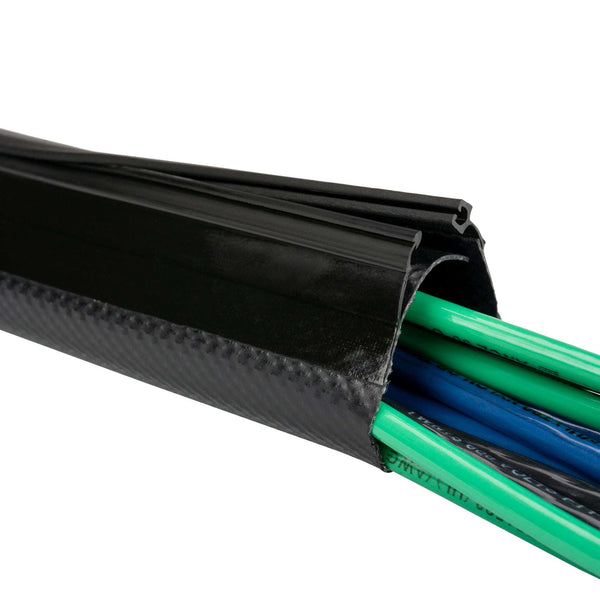
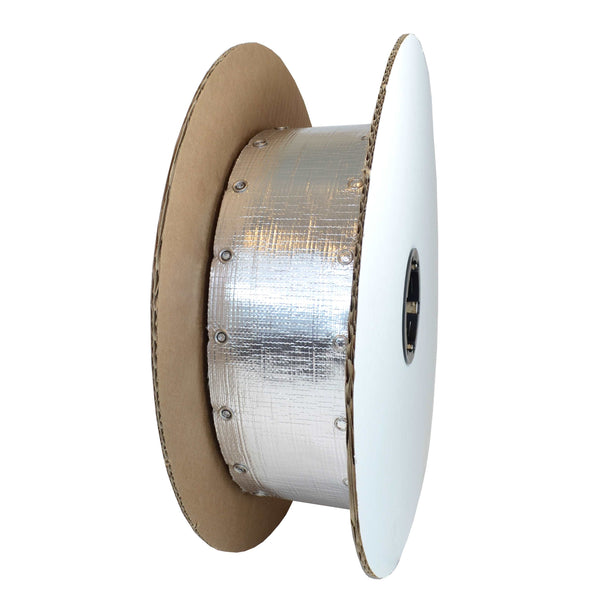
PRT® (1553) combines the proven benefits of heat shrinkable tubing (SAE-AMS-DTL-23053/5), a hot melt adhesive environmental seal and EMI shielding with the installation ease of using Zippertubing’s wrap around products. This product is designed to provide an environmentally sealed repair to both the shield and the outer jacket of damaged, shielded cable from 0.075” to 1.00” in diameter. Testing has shown that a PRT® (1553) repaired shielded cable will perform at or near the original shield cable performance levels. This product has an operational temperature range of -55 to 135°C.
The PRT® (1553) is a shielded cable repair kit designed to repair MIL-STD-1553 and other shielded cable which have minor insulation and shield braid damage. These repair kits are not “splice kits” and any cable exhibiting primary wire insulation damage and/or shield braid damage exceeding 50% of the braid circumference are not repairable using this kit alone! Never attempt to use this kit to repair cables with damaged primary wires unless an approved primary wire repair device has been installed prior to utilizing this kit. Each PRT® (1553) kit contains a length of Z-3250 EMI Shielding Tape and a piece of PRT-ES® Tubing. The EMI tape will be utilized to repair the shield damage and the tubing will create an environmentally sealed and electrically insulated repair of the cable jacket.
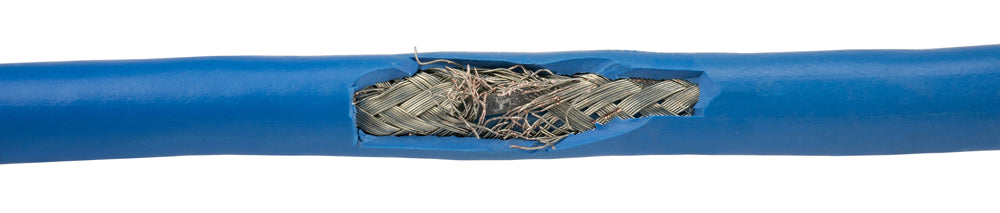
The Problem:
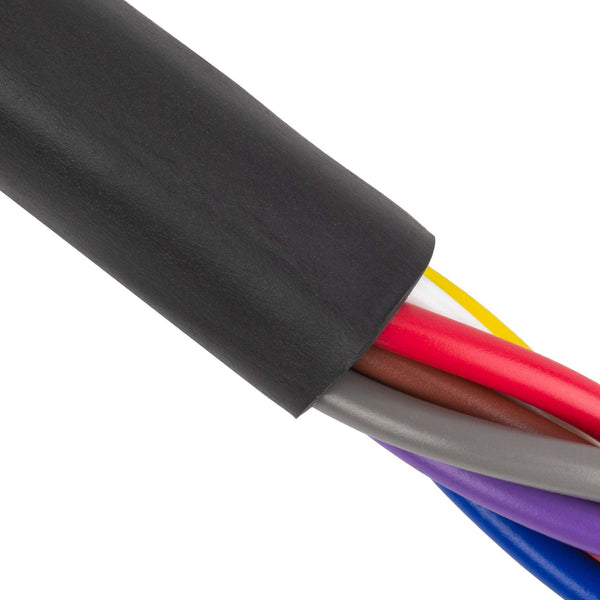
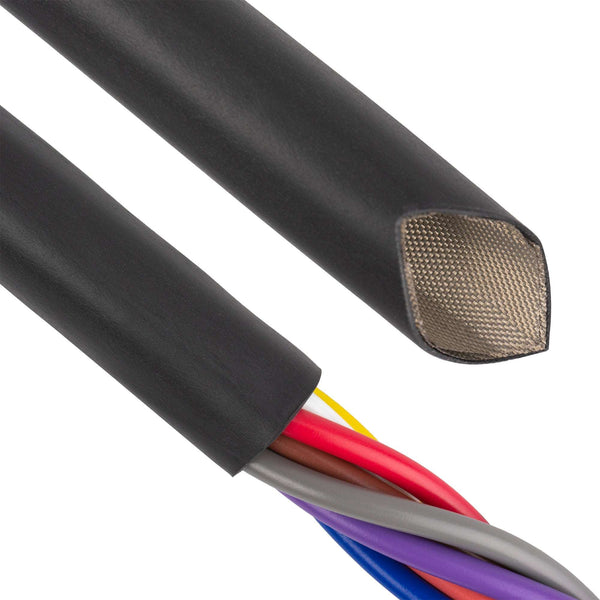
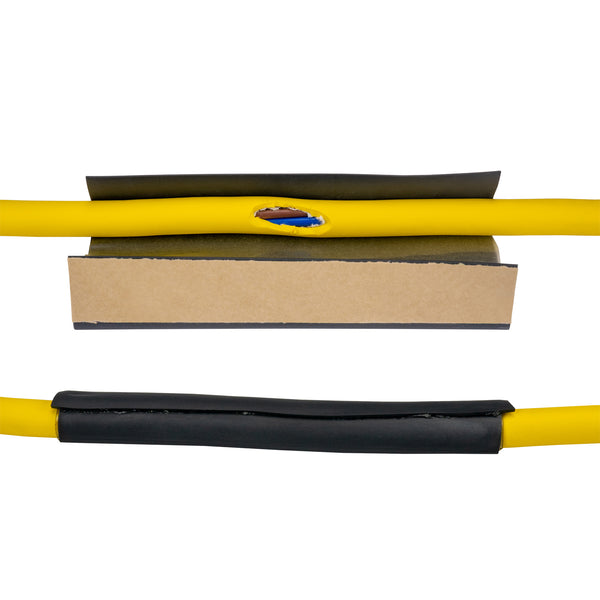
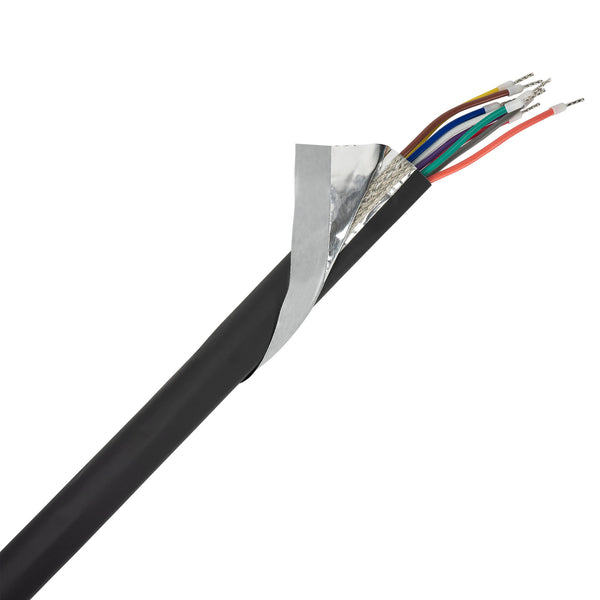
The image below illustrates a classic example of a shielded electrical cable that has suffered outer insulation and shield damage. The damage level is severe enough to cause EMI leakage in addition to exposing the shield braid to corrosion. However, the primary wire insulation is still intact and cutting the wire in half to install a wire splice is typically undesirable as this type of repair may affect the wires overall electrical resistance and would create a very stiff area that may lead to future failure. The PRT® (1553) kit was developed to create a quick, reliable repair of both the shield and outer jacket insulation that is virtually as good as the original cable. The advantage of using a PRT® (1553) kit on minor insulation and shield damage is that it can be installed quickly with minimal harness and connector disassembly and is far more rugged and reliable than a temporary tape wrap repair. A PRT® (1553) repaired cable will provide many years of service assuming it’s installed correctly.

Step 1: Sizing
Measure the outside diameter of the damaged cable at a location away from the defect using a caliper. Use Table 1 and find the measured cable diameter. Select the correct PRT® (1553) repair kit size and part number.
| PRT® (1553) Size |
Cable Diameter Inches (mm) |
PRT® (1553) Size |
Cable Diameter Inches (mm) |
| -01 | 0.075 - 0.125 (2 - 3.2) |
-11 | 0.50 - 0.62 (13 - 16) |
| -03 | 0.126 - 0.174 (3.2 - 4.5) |
-13 | 0.63 - 0.74 (16 - 19) |
| -05 | 0.175 - 0.249 (4.5-6.3) |
-15 | 0.75 - 0.87 (19 - 22) |
| -07 | 0.25 - 0.37 (6.3 - 9.5) |
-17 | 0.88 - 0.99 (22 - 25) |
| -09 | 0.38 - 0.49 (9.5 - 13) |
Step 2: Preparation & Positioning
Clean the cable jacket surface around the damaged area and at least 2.0 inches on either side. Use Isopropyl Alcohol (IPA) and a clean cloth to remove all dirt, grease and oil residue from the cable jacket.
Trim away any loose jacket material as necessary.

Determine if the cable damage has caused any broken or severely distorted shield braid strands. If no shield braid damage is evident proceed to step 7. If the shield braid is damaged, carefully inspect the primary wire insulation and determine if it is damaged. If the primary wire insulation is damaged, STOP! Primary wire damage is not repairable using this kit alone. If the primary wire insulation is not damaged proceed to Step 4.
Remove the jacket insulation back 1.0 inches from each side of the central damaged area.

Fold and dress any broken shield braid strands back over the undamaged braid area. Ensure that all broken strands are facing away from the primary wire insulation so they cannot cause a puncture and short circuit.

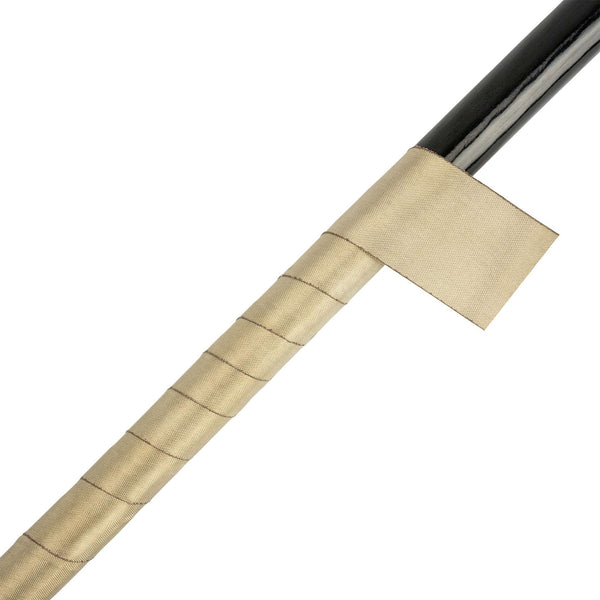
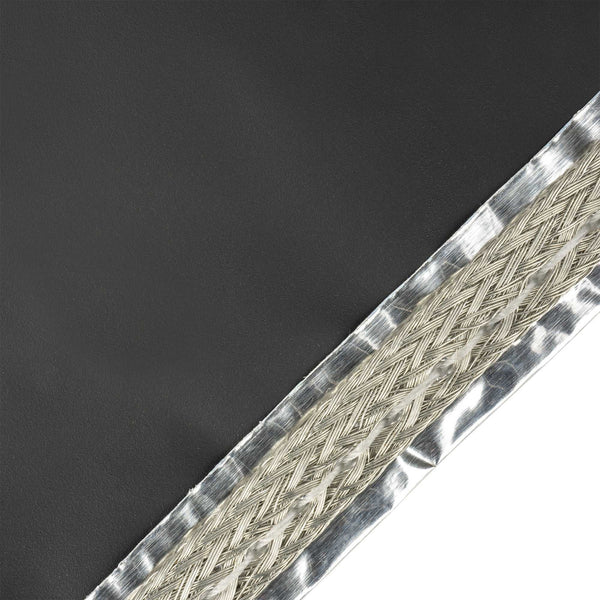
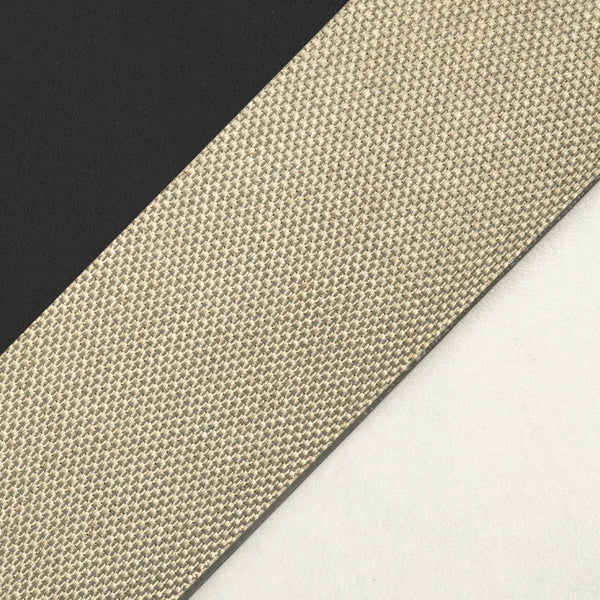
Use the piece of Z-3250 Tape® supplied in the kit to repair the damaged EMI shield. Peel back the paper release liner from the adhesive side of the Z-3250 Tape® approximately 1-inch. Apply the adhesive side of the tape directly to the metal shield braid, beginning where the jacket insulation stops. Spirally wrap the tape over the entire shield braid area using a 50% overlap technique.


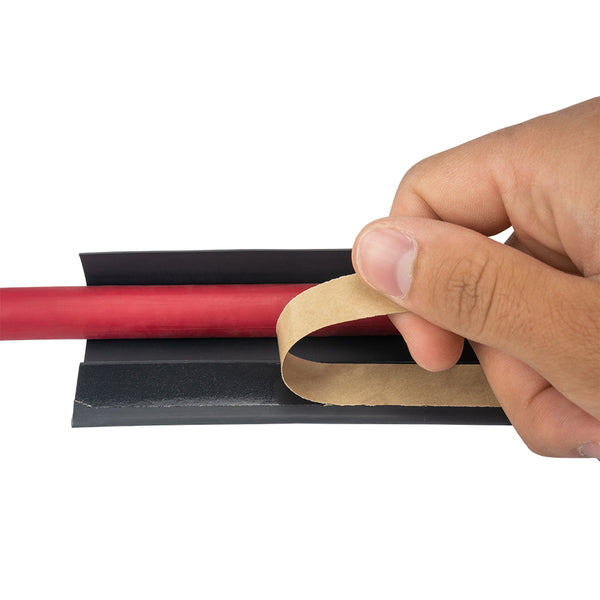
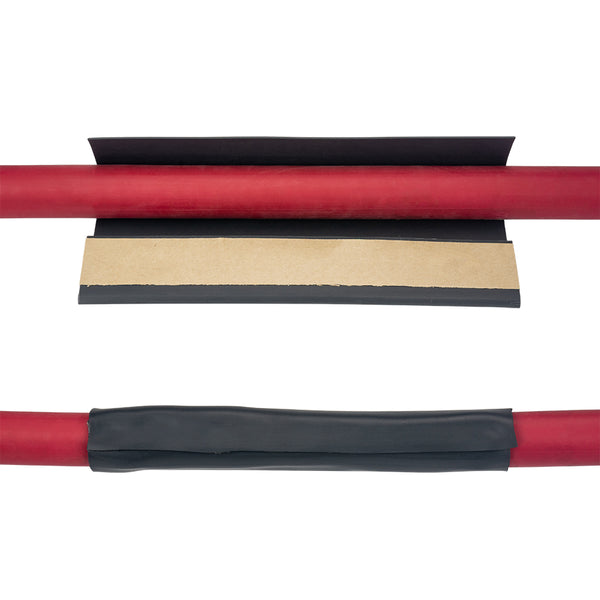
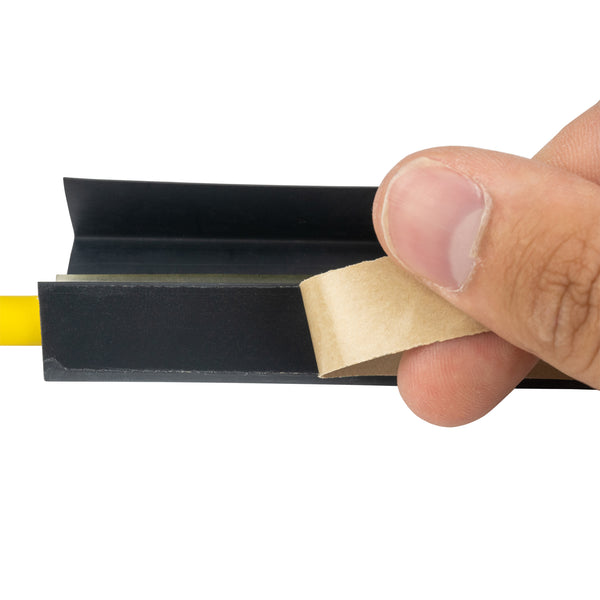
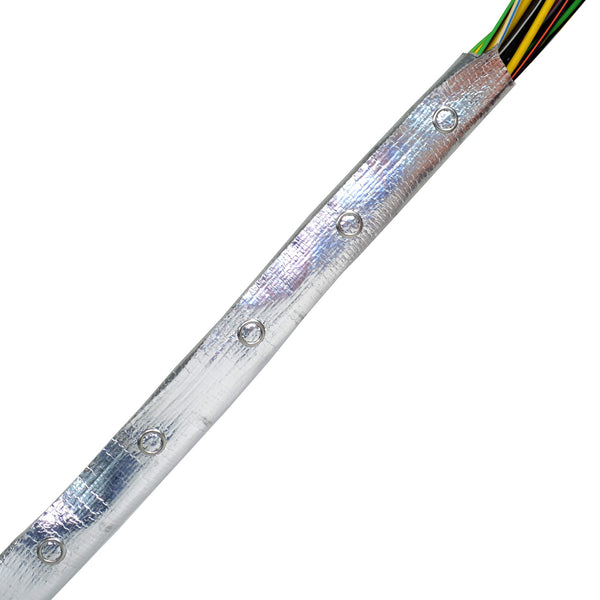
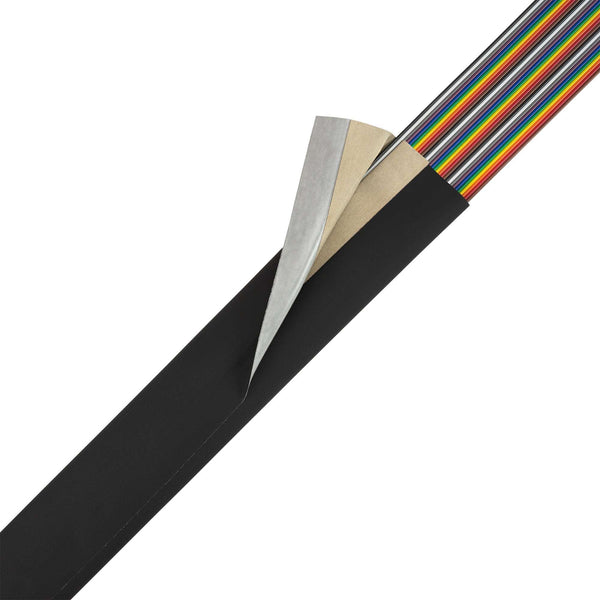
Using the PRT® (1553) insulation tubing supplied in the kit, wrap the tubing around the cable so the amber colored hot melt adhesive material faces the cable. In all cases, the PRT® (1553) tubing should extend beyond the shield repair area by at least 1/2-inch on each end. Peel back the paper release liner covering the adhesive strip on the outside of the tubing about half way. Overlap the tubing so the edge without the adhesive just covers all of the exposed adhesive, but no more! Peel back the remaining release liner and finish sealing the tubing.
Note: For small damage areas you can cut the repair tubing and shielding tape to an appropriate length using a pair of scissors. Ensure the tubing overlaps each end of the original cable jacket a minimum of 1/2 inch.
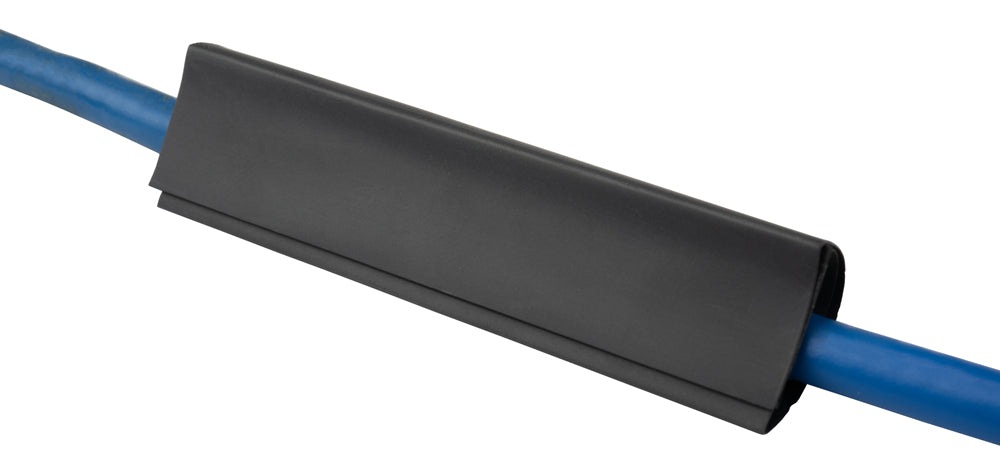
Center the PRT® (1553) tubing over the damaged cable area and orientate so the overlap seam covers the defect area.

Once the overlap seam area has fully shrunk you may apply heat to any remaining areas of the tubing that have not yet shrunk. Continue to apply heat until the hot melt adhesive begins to ooze out and creates a fillet around the cable circumference at each end. Heat the remaining tubing slowly and evenly. Too much heat, applied too quickly in one location will cause the hot melt adhesive to expand unevenly and possibly rupture the overlap seam.
Once complete and while the assembly is just warm to the touch, use your thumb to rub the tubing overlap seam area and remove any exposed closure adhesive. The excess adhesive will ball up ahead of your thumb. Discard any residue.
![]()
Caution: Never attempt to remove excess adhesive from the overlap area using solvent. Allow the assembly to fully cool to room temperature before placing assembly back in service.
Large Cable Repair
It is possible to create a similar repair on large diameter cable using the materials shown in Table 2. This type of repair is limited to cable diameter larger than 1-inch (25mm). The difference is that the PRT® Tubing, Z-3250 Tape® and Z-Block® (135) Tape must be procured separately.
Use the table to find the measured cable diameter in column 1 and select the sizes of each material listed in columns 2, 3 and 4.
Prepare the cable as described in “Preparation & Positioning” steps 1 to 5.
Cut a strip of Z-3250 Tape® from the roll long enough to wrap the shield defect area on the cable using a 50% overlap technique (see “Preparation & Positioning” step 6).

If necessary, cut the Z-Block® hot melt tape (P/N: ZT02-03-002) to the width shown in Table 2 using a pair of scissors. Ensure that the paper release liner has been removed from the amber colored hot melt tape prior to wrapping the cable. Helically wrap the tape over the previously installed shielding tape and overlap the original cable jacket a minimum of 1-inch at both ends. Use a soldering iron or the hot tip of the heat gun to melt the last tape wrap so the tape sticks to itself.
![]()
Caution: Keep the Z-Block® tape wrap buildup to a minimum. Too much tape may cause a seam rupture in the PRT® Tubing.
Install the PRT® tubing around the cable as described in the “Preparation & Positioning” step 7 and follow the shrinking instructions to complete the installation.
|
Cable Diameter Inches (mm) |
PRT® Size p/n: ZT98-04-016-# |
Z-3250 Tape p/n: ZT93-03-003-* (width, in.) |
Z-Block (135) Tape¹ p/n: ZT02-03-002 (width, in.) |
| 1.0 - 1.12 (25-29) |
#9 | 1.0 | 1.0 |
| 1.13 - 1.24 (29-32) |
#10 | 1.0 | 1.0 |
| 1.25 - 1.37 (32-35) |
#11 | 1.0 | 1.0 |
| 1.38 - 1.49 (35 - 38) |
#12 | 1.0 | 1.0 |
| 1.50 - 1.62 (38 - 41) |
#13 | 1.0 | 2.0 |
| 1.63 - 1.74 (41 - 44) |
#14 | 1.0 | 2.0 |
| 1.75 - 1.87 (44 - 48) |
#15 | 1.0 | 2.0 |
¹ Z-Block® Tape is available in two melt temperature ratings. Z-Block® (100) will melt and flow around 110ºC while Z-Block® (135) flow at around 140ºC. Standard PRT-ES® materials use the Z-Block® (135) material but either can be used and is dependant on operating temperature of the system being repaired.
Shelf-Life Recommendations
The following table lists the maximum accepted shelf-life period for Zippertubing products from the date of manufacture when stored at a temperature of 72 ºF (22 ºC), 50 % R.H. and not exposed to direct sunlight. Storage conditions other than those stated above may result in a shorter shelf-life. Materials should only be purchased in quantities such that all materials are consumed prior to the material exceeding its recommended shelf-life.
![]()
Shelf-life and service life are two different issues and should not be confused. Service life can be expected to be far longer than the shelf-life. It is impossible to accurately define service life as it will vary with the material type and severity of the application.
If a material is found to have exceeded the recommended shelf-life date, review the Zippertubing Shelf-Life Re-certification document for procedures to determine if the material life can be extended.
All materials which utilize a (PSA) adhesive closure shall have the base material shelf-life value stated left reduced to 12 months. Refer to the Zippertubing Shelf-life Re-certification procedure for a method to extend shelf life.